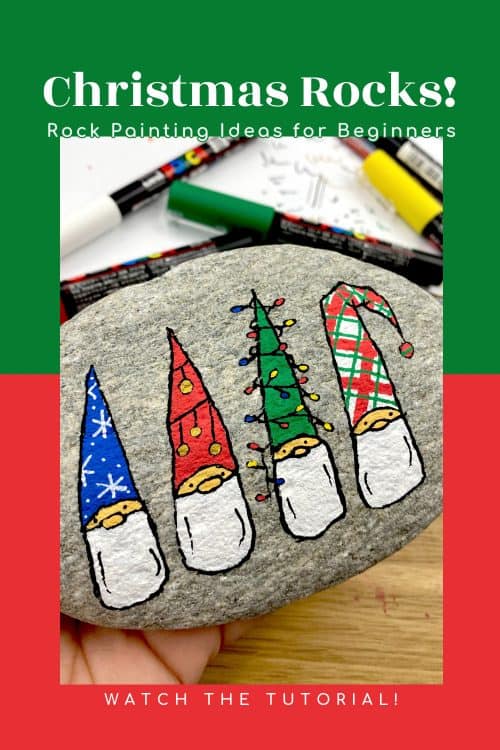
Ever since I learned how to draw gnomes I have been painting them on stones! Our very first gnome paintings were just basic red and green hats for Christmas. For these Christmas gnomes we are adding a bit more flair!
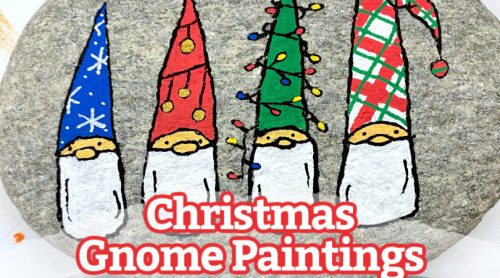
If you love gnomes as much as we do you might be crafting them all year! Our gnomes have gotten ready for so many holidays! We start with a simple gnome drawing and then add the fun holiday designs in their hats!
We paint Christmas gnomes on rocks to hide around town as random acts of kindness. You could use them for stocking stuffers and/or gifts! You may like them so much you can’t let them go, so you can add them to your holiday decor! They look really cute mixed into greenery on your mantle.
Not into rock painting? This tutorial can be moved onto any surface! Draw gnomes on wood or use on card-stock for handmade holiday cards!
Supplies to Paint and Draw Gnomes
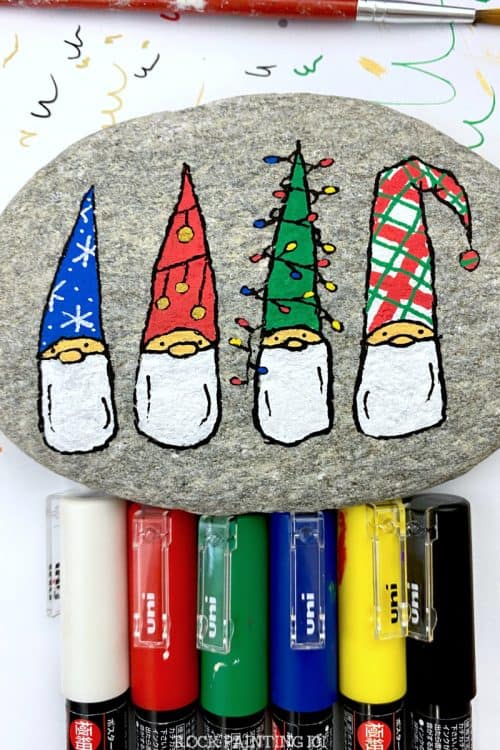
To draw these gnomes I used the black from this extra fine tip 12-pack from Posca. I also used the colors for all of the hat decoration. However, the 12 pack doesn’t come with the cream for the face. These are water-based paint pens and work on just about any surface you can think of! I did use acrylic paint and a brush for the beards in the video tutorial below, but you can use your paint pens for that as well. The cream I did use was from the 3M Natural Colors pack from Posca.
CLICK HERE to see ALL of our FAVORITE rock painting supplies!
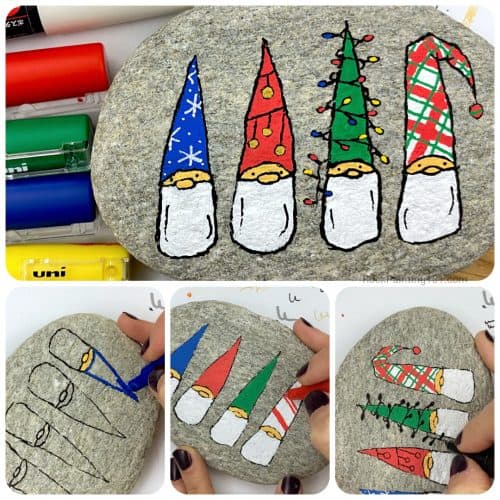
How to Draw Gnomes Step-by-Step
Below you will find step by step images on how to create this design. There is a full video tutorial after if you are looking for more details or tips!
We are going to start with how to draw gnomes! First, I just want to say that you can decide whether or not you want to see any eyes. It is a the creators choice. Place down an oval for your nose. You’ll want a big noses. Create a couple of horizontal lines the width you want the hat about halfway up your nose. Then if you want to see eyes create an arch for the bottom edge of the hat. If you don’t want eyes skip this step. Next, give them a nice big beard.
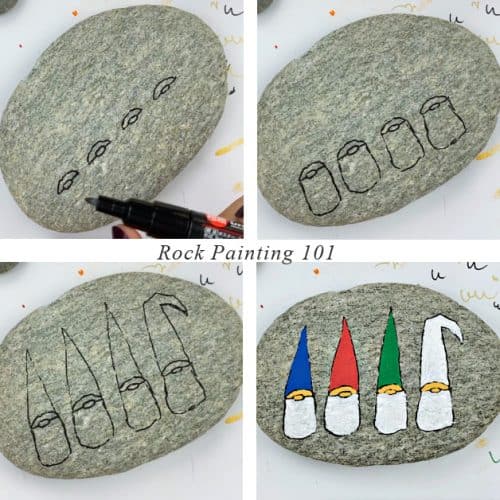
When adding your hats you can make them point straight up or have a bend to the side. At this point fill in your gnomes. Any color of hats you want. The beard can be white or you can add in a touch of gray. Again, these are your gnome take the lead. You can have shoe popping out, I do this in some designs, or even a hand showing from out of the beard holding an item!
Christmas Gnome Painting Ideas
Now lets give these gnomes some holiday designs! You can see all the little steps and tips if you need them in the video tutorial below. You can do stripes or layer different sized stripes and colors for a plaid look. For the tree hat make sure your lights string goes over and under the the green to give the look that it is wrapping around the hat. I think the Christmas tree hat gnome is my favorite…
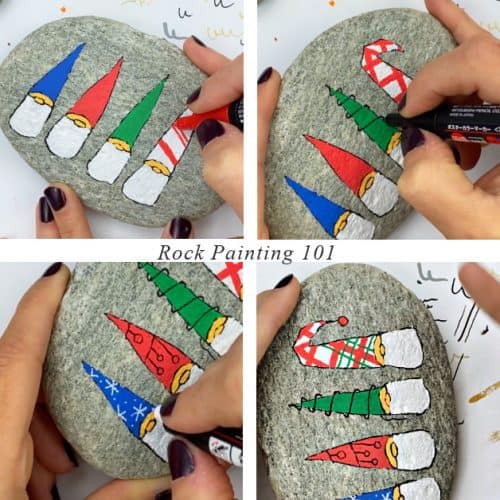
I did a snowflake design, in case you want to lean more winter than Christmas. For the snowflakes you can do a mixture of 6-lines and dots. We did simple ornament hat and then went back to add the second layer to our plaid. We also added a little ornament to the end of the dropping hat.
Crisp up all your lines again when you are done. You can add a few details to the beard at this time as well!
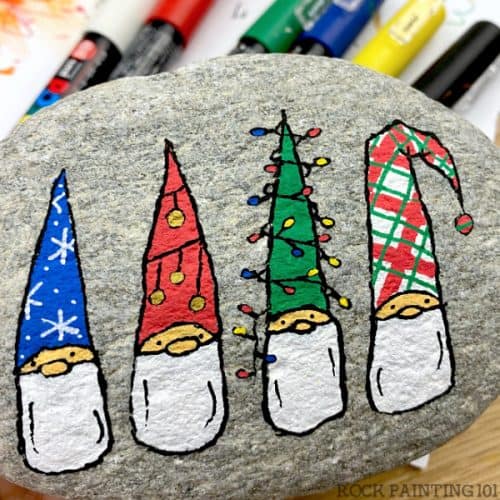
- If you are using this tutorial to paint a rock, make sure to seal your painted rocks before putting them out into the world!
Christmas Gnome Painting Video Tutorial
See how to draw gnomes step by step and then the added decorations after in this full video tutorial!
Pin this rock painting idea to your favorite Pinterest board!
I hope you have a chance to try this painting tutorial! Take a minute and pin it to share and save it for later!
