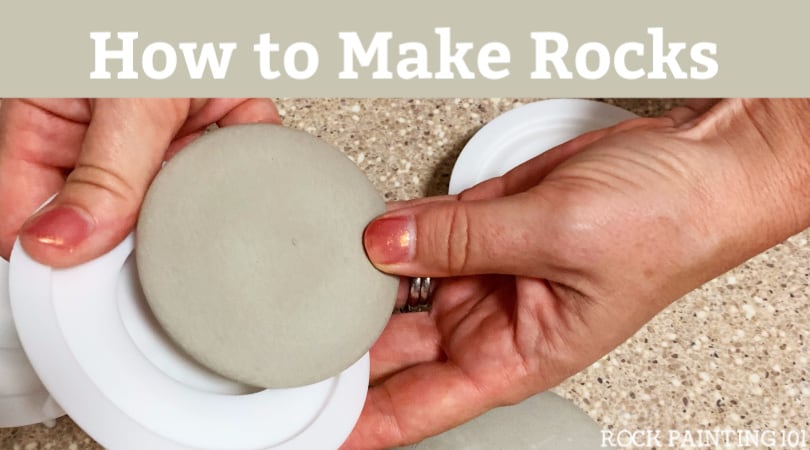
Learn how to seal painted rocks with these simple techniques. There are a lot of different variables that go into properly sealing your painted rocks. These tips and step by step instructions will break it down so you can paint rocks for outdoors.
How to seal painted rocks
I get asked a lot of questions about rock painting. How to seal painted rocks is one of the 5 most asked rock painting questions I get asked.
Unfortunately, this is also one of the hardest questions to answer. There is more to it than just picking a sealant for your rocks.
When you’re painting rocks for outdoors, you want to make sure that you get a great seal so that those beautiful rocks will last.
I’ve broken it down into several tips and instructions so that you can get a perfectly sealed rock, every time. Most of these tips are focused on using a spray sealer on your painted rocks. If you have a different kind of sealer you are working with, we have posts sharing tips for those as well!
- How to Seal Rocks with Resin
- How to Seal Rocks with UV Resin
- How to Seal Rocks with Brush on Sealers
7 Things Not To Do When Sealing Your Rocks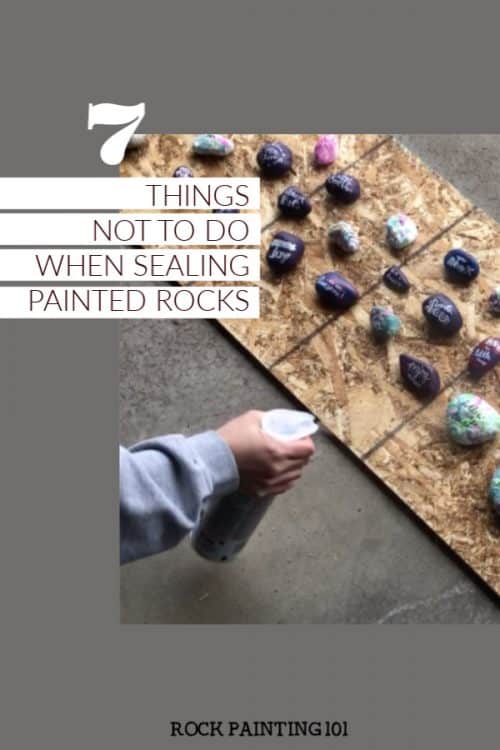
When explaining to people how to seal painted rocks there are more things I want to tell them not to do than anything else.
There are a lot of common mistakes. So if you have made one of these trust me you are not alone. Every single one of these mistakes listed below I have heard time and time again. I have even made a few of them myself. Rock painting is all about trial and error.
These are the 7 most common mistakes people make when sealing their rocks.
1. Hold the can too close.
Most spray sealers should be held at least 8″ from your rocks. Holding the can too close will create uneven coats of your sealer.
2. Spray a heavy first coat.
I always start with a light mist coat on my rocks first. Too much, too fast, can cause some of your paints or paint pens to run.
3. Spray a heavy second coat.
We all want pretty & shiny rocks. A nice thick coat of sealer can look nice. But, you have to build it up. You never want to spray so much sealer that it is dripping or running on your rocks. You can add 2 or 3 coats to thicken it up if you like.
4. Let them dry in the sun.
Make sure your rocks are in a well-ventilated space out of the sun. Also, somewhere they can sit awhile. They will smell until they are completely dry.
5. Seal your rock right away.
When you finish a rock it can be really exciting to get it out into the world. However, until you have tested timing a bit I always suggest letting your rocks dry at least overnight before sealing.
6. Only seal the top.
Make sure to hit the back side of your rock with sealer too.
7. Seal rocks on a windy day.
I often let my rocks stack up until I have perfect sealing conditions. It saves time and sealer. If it is windy you will lose a lot of your sealer, and waste money, into the wind. Also, on a windy day, dust can kick up and get onto your rocks when they dry.
How To Seal Rocks Step-by-step
Let your painted rocks dry completely before getting started. Unless you have tested your products I suggest overnight.
Spread your rocks out on your surface. Leave enough space that you can hit them at all different angles. 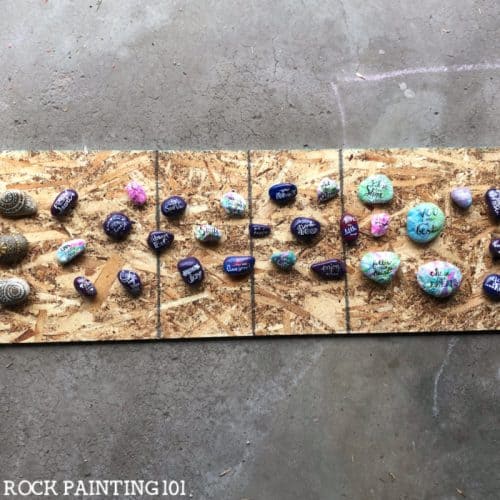
Spray on a very light mist coat. I like to do this one from over 8″ away. Just on the decorated surface of my rock. If you are using a brush-on sealer you can do the same. A nice thin coat first. 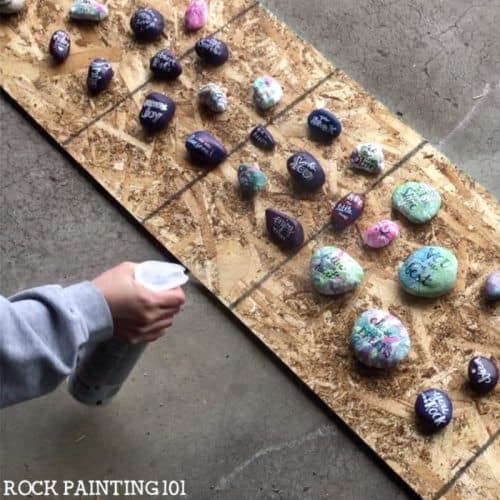
Once that has dried spray a heavier coat at more of an angle to hit the sides of your rocks. Rotate around the surface to hit your rocks on every side.
Make sure not to oversaturate your rocks. They should never drip or run. This is the same with the brush on sealer. The second coat can be thicker, but it still shouldn’t run. 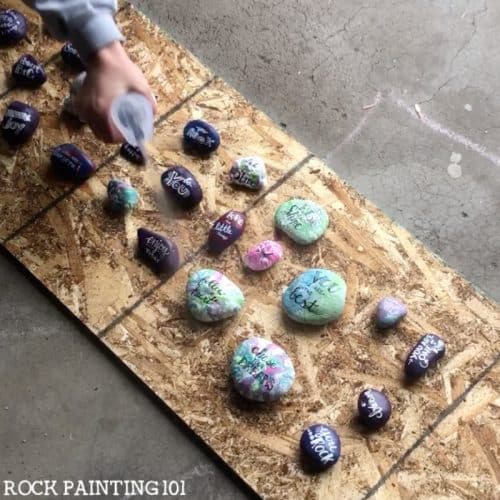
Once that coat has dried completely see if you like the finish. At this time you can add another coat if you like or set the rocks aside a bit longer to dry.
Don’t forget you need to make sure to seal the back side of the rocks. You can spray the backs before the front or after the tops. I like to do them first.
Make sure to use a non-stick surface, like parchment paper, so you don’t mess up the front side of your rock.
If you are doing the backs after you have sealed the fronts, make sure to give the tops plenty of time to dry before placing them face down.
3 Tips For Perfectly Sealed Rocks
1. Test your products.
I have seen time and time again people saying that Sharpies can run, or certain sealers make someone’s Posca bleed. There is nothing worse than creating a masterpiece rock only to have it run and smear when you add your sealer.
The solution is to test your products. Get a crummy rock and add on the paints you use, or makers. Give it a seal. See what happens!
2. Find a finish you like!
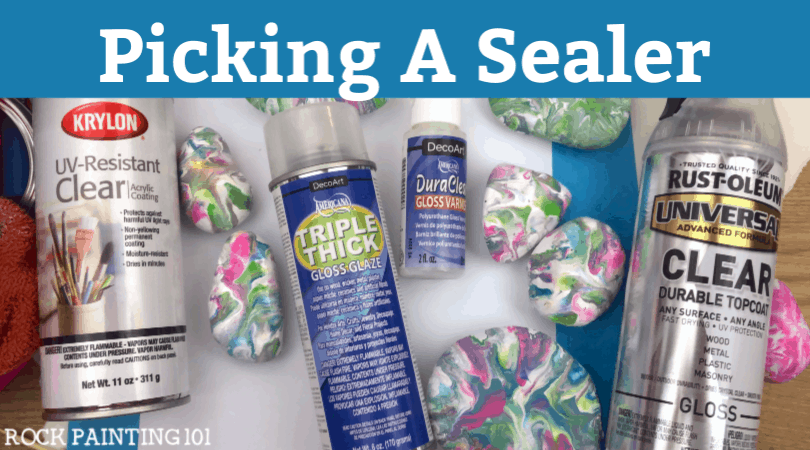
There are a lot of different sealers out there. Spray on sealers or brush on sealers. There are matte finishes, gloss finishes, you may even want to learn how to resin your rocks. It is all about preference!
When you find the look you like you can figure out what process works best and create your perfect rocks!
3. Start light and build up
With sprays or brush-on sealers start light and build up. Make sure to seal the sides and back sides of your rocks too!
How to pick a sealer you like
Just ask! If you are in a group and see a rock you like the finish on, ask what they used.
I have tested a few so that you can see my favorite rock painting sealers. But, there are a lot of options out there. Also, everyone seems to have a favorite. They tend to get there after trying a few things first. So that is what I like to suggest.
I just got done sealing a batch of rocks. Not the easiest thing to film… probably why it took me so long to get this post up. But, you can watch my spraying process.
If you enjoyed this rock painting tutorial, please pin it to your favorite Pinterest board.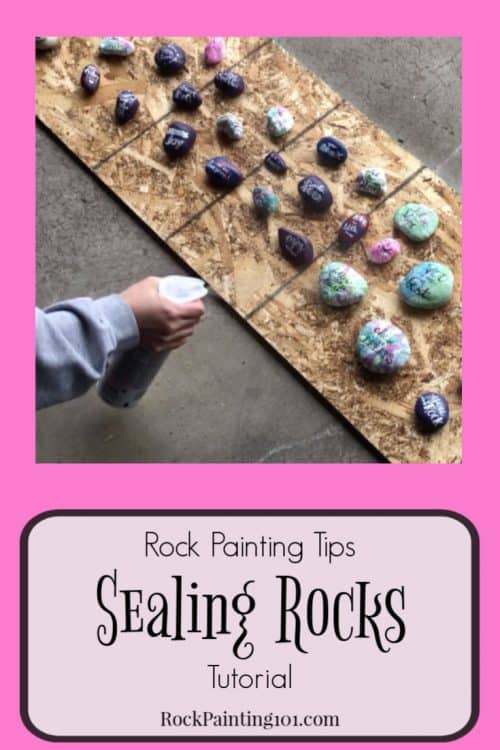
If you enjoyed these fun rock painting ideas, you’ll love these!