Making beautiful pour painted rocks is something that just gets better with experience. There are so many variations to try! Today we have an expert in pour painting to give us her best tips and tricks to know before you get started pour painting rocks.
Pour Painting Rocks for Beginners
If you search for pour painted rocks you are sure to stumble across Diana’s Positivity Rocks. She has been pour painting rocks for over a year and has learned so much along the way. She even created a facebook group where anyone can share their pouring experiences, good and bad. It is filled with tutorials and tidbits you can only learn through using this process over and over again.
This page contains affiliate links which means if you make a purchase using the link, I could receive a commission. Check out all the details here.
The Best Pour Painting Tips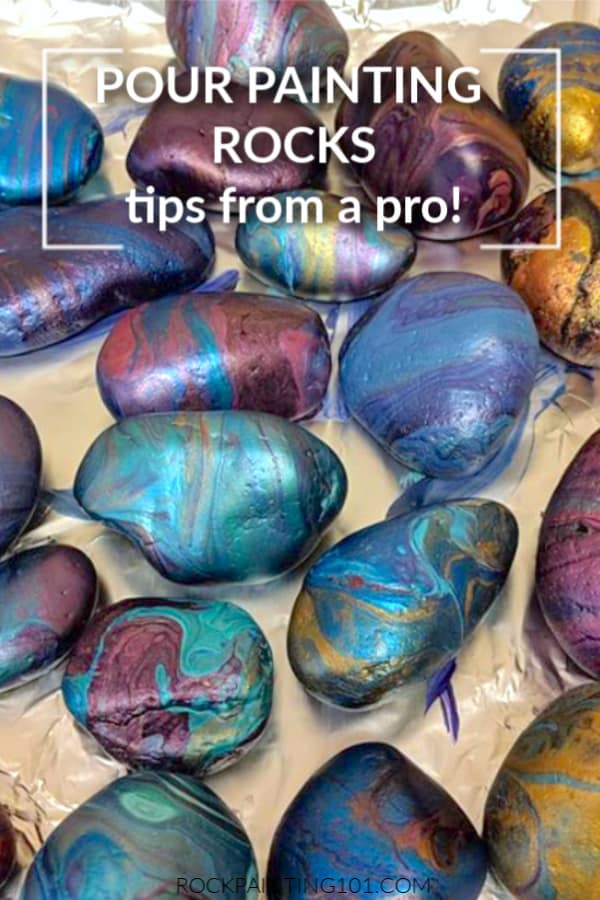
Supplies for Pour Painting Rocks
Diana suggests grabbing a cookie cooling rack, foil, acrylic paints, and cups. You can use pour mediums to thin the paint, but they are not necessary. Also, there are products that help create cells.
For things not found around the house you can grab pour painting supplies here.
We are so excited to have Diana share her best 8 tips you should know before you start pouring rocks.
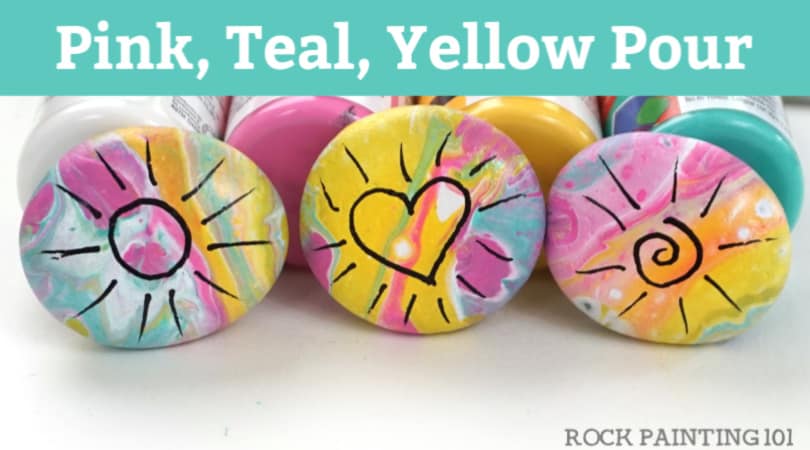
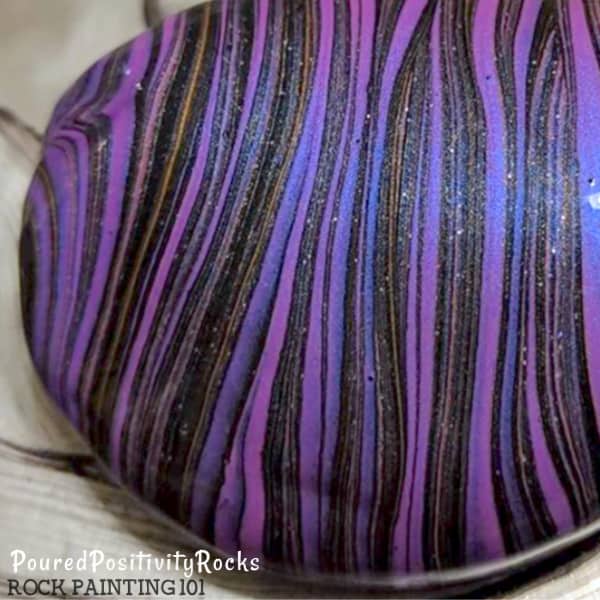
1. Tips on choosing paint. There are tons of acrylic paints to choose from. The brands she likes the most art DecoArt, Craftsmart, Folkart and Martha Stewart. Some paints pour very well without adding a medium (thinning agent like floetrol). I love metallic paints and they pour great right out of the bottle. Others paints can be very thick and will need to be thinned before you are able to pour with them. Do not use Apple Barrel White (only the white the other colors pour great). It has been known to cause cracks when poured once it dries.
2. Pouring Mediums. There are products like floetrol you can purchase to thin out your paint. You don’t have to add mediums, but they do help your paint last longer and give them a good pouring consistency. Amounts to use can vary based on the brand and style of paint. I tend to not thin all the colors I use because rock pour consistency should be a little thicker than canvas. Too much of the medium can make the colors dull when drying. Just remember once you seal them it brings the beauty back to the rock just like when you poured it. The more Metallic colors you use the more shinny the pour is when it dry’s. 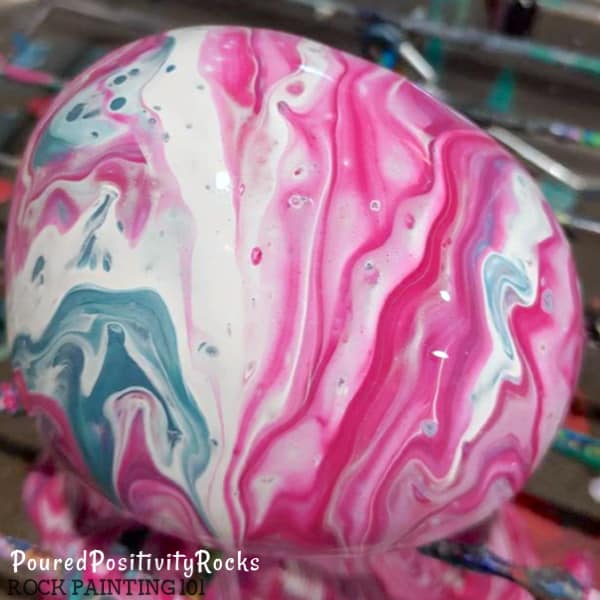
3. Drying time verses Curing time. You want your rocks to be completely cured before sealing. If sealed too soon the paint will get tiny bubbles. They are dry to the touch in 1 day, but can take anywhere from 3-12 days to fully cure (paint harden). If you thin the paint it will cure faster than straight acrylics.
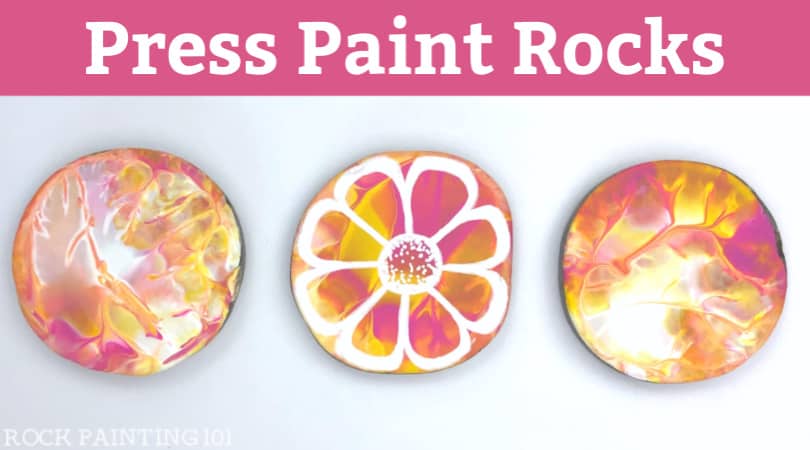
4. Creating Cells. There are lots of products that give cells (bubble effect). You can play around with your pour painting recipe using things around the house or purchasing more expensive silicone. However, know that in order to pour a beautiful rock you don’t have to have cells. Heat does not need to be applied to get a cell affect, but it can bring out more cells. Just remember Wet Paint + Heat = Invisible fumes. The easiest way to add heat is to use a lighter or blowdryer on low. You can buy more expensive things like an embossing gun or baking torch, but it not something you have to buy. Cells happen on their own too.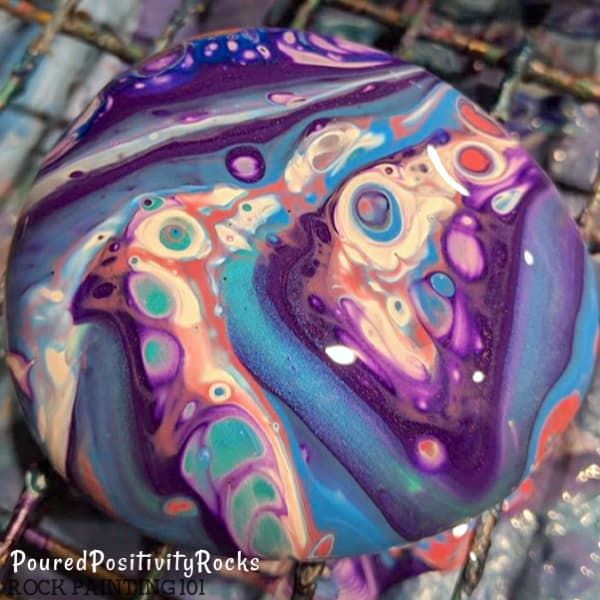
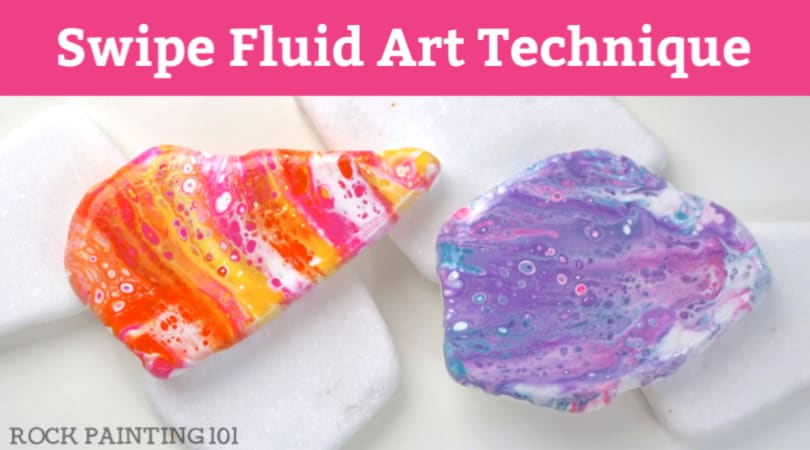
5. Pours without cells. Rocks pours do not have to have cells. They can look just as beautiful without! There are all kinds of techniques like stripe designs and making swirls in the pours that don’t look as pretty with cells.
6. What do do with the bottoms. This all depends how you pour. If you pour on a flat surface you will have less bumpy edges to smooth. If you pour on a rack, they tend to get drippy edges and the rocks sometimes won’t sit flat. The bottoms can be smoothed with a utility knife a few days after pouring. You can also smooth bumpy edges using sand paper and some even use potato peelers. You can paint the bottoms are with an accent color or with with your local hashtag.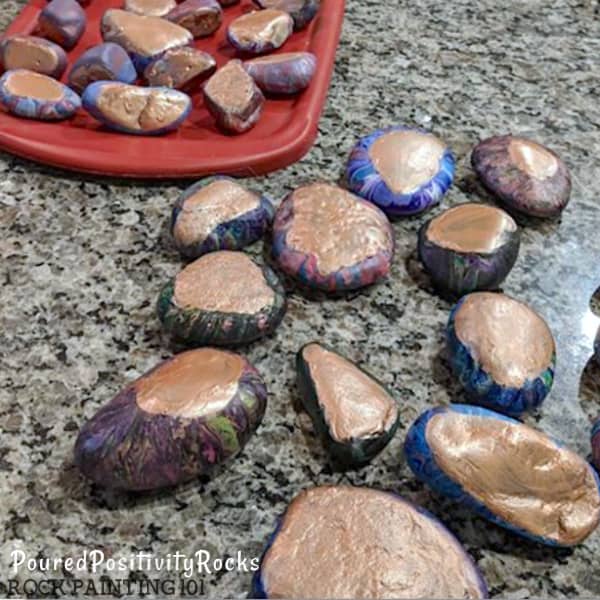
7. Wasting paint. When you see the overflow paint you might think there is too much waste. But, there are a few different ways to use it up. Transfers which is using a flat brush to transfer the paint onto the rock. If the colors can be blended together collect the excess paint save for another pour. You can even create jewelry from the skins! Find more about this in Diana’s group.
8. MOST IMPORTANT – Have fun and enjoy the magic of the pour. The more you pour and experiment, the more you learn about the flow of the paint. You will like some thin, some like thick, some with cells, some without. There is not one recipe for everyone its all about what looks beautiful to you!
We hope this encourages you to give pour painting a try! You can follow along with Diana on her Facebook Page, YouTube, and Instagram! Also, make sure to join there Facebook group so you can share your pour painting experiences!
Pin this Rock Painting information to your favorite Pinterest board!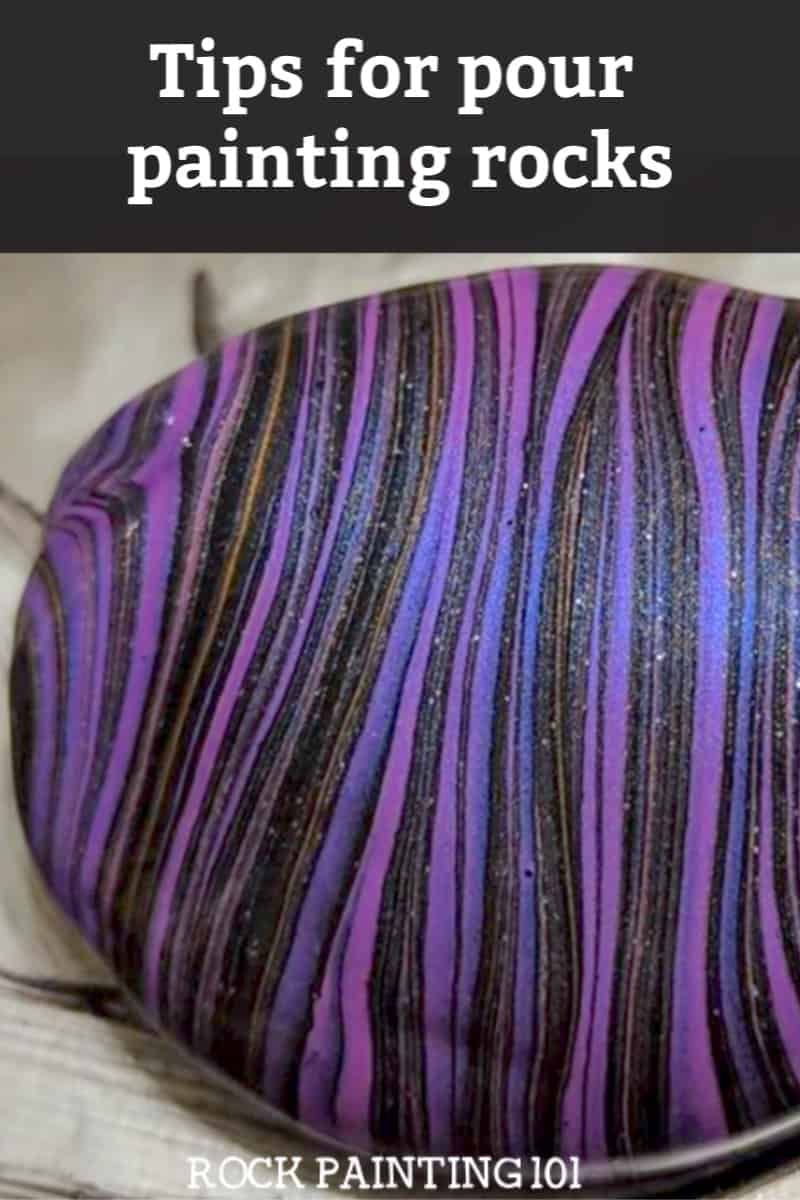
If you enjoyed this fun rock painting idea, you’ll love these!