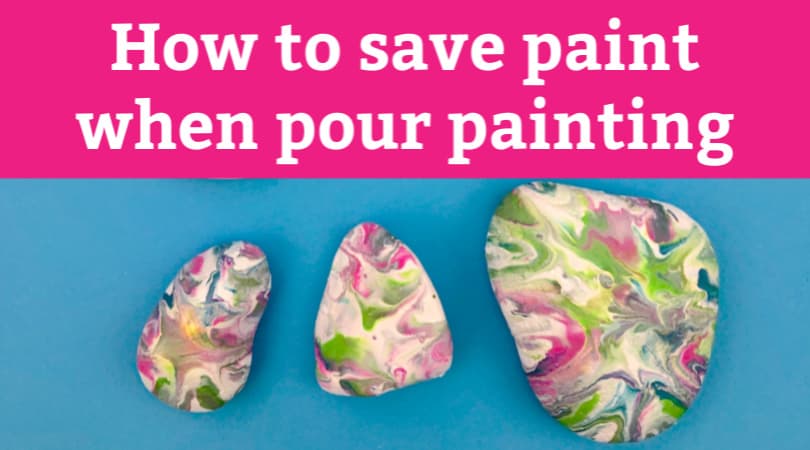
Getting the right pour painting recipe is essential to mastering this fun and unique rock painting technique.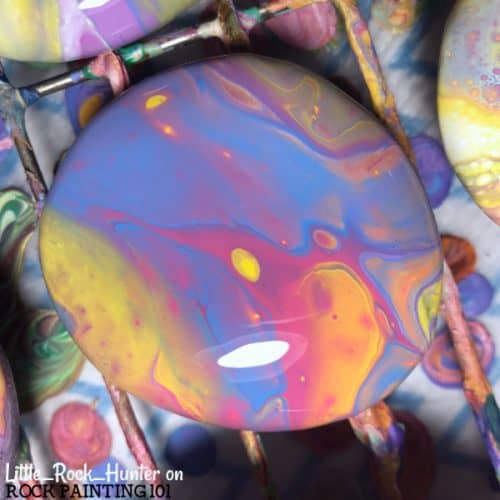
Pour Painting Recipe
I have always loved the look of pour painted rocks! The way the colors move and blend is just beautiful. They make excellent backdrops for kindness rocks to hide around town.
However, I haven’t played around with my pour painting recipe too much. So I reached out to Jess from Little_Rock_Hunter.
I found her eye-catching rocks on Instagram. She has only been painting rocks since last summer and stumbled upon the hobby the same way as I had. Finding a rock with her child.
She hasn’t been pouring rocks too long, but she dove in head first to perfect her recipe to make these beautifully painted rocks!
This page contains affiliate links which means if you make a purchase using the link, I could receive a commission. Check out all the details here.
Supplies for Acrylic Pour Painting Rocks
- Acrylic Paint. (She prefers DecoArt or Martha Stuart. The more expensive brands didn’t create vastly better rocks so it wasn’t worth the price difference.)
- Flow Agent. (Floetrol can be purchased online or in hardware stores.)
- Cell Medium. You can purchase silicone or use something around your home like WD-40 or Garnier Fructis Sleek & Shine.
- Pens. (Posca PC-1M or PC1-MR ) Optional for writing on words.
- Cups
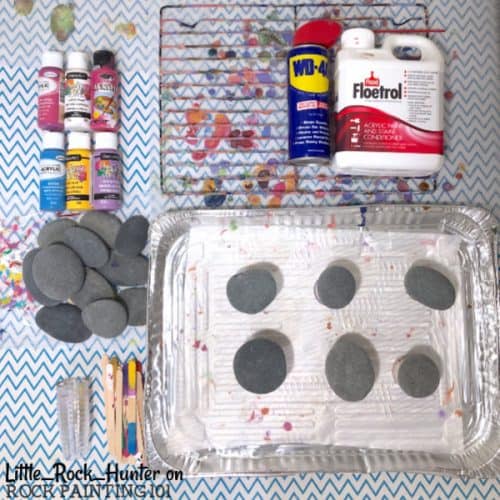 Jess found a great group call Poured Positivity Rocks by Diana and Friends on Facebook. This is where she started. After watching a few tutorials she started playing around with various pouring mediums and recipes before setting on what worked best for her.
What is a good pour painting ratio?
For each pour combine approximately 50% acrylic paint with 50% Floetrol. If your paint is extra thick you may need to add more Floetrol in order to achieve a good pouring consistency.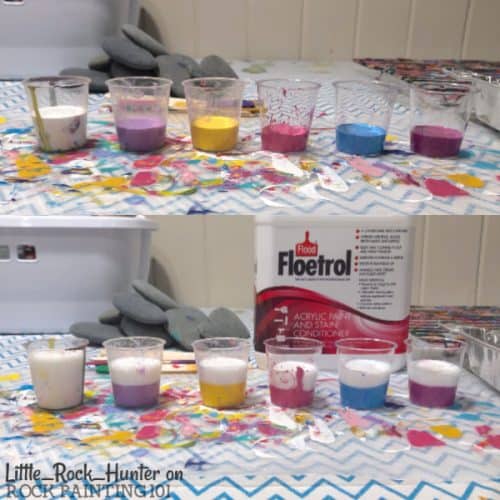 A phrase that floats around the pouring community is ‘like warm honey’.
How to create cells when pouring painting on rocks
You can achieve some cells with the recipe above. Pour painting cells are when the paint allows the colors in the layers to pop through. You can encourage more cells by adding a small amount of silicone or a product containing dimethicone to your paint. You can test different things. OXG Coconut Milk Hair Oil, WD-40, and of course they sell silicone just for this reason now. Jess started by using WD-40 on her rocks (pictured in the images below). After pouring for awhile she has started to use an anti-frizz hair serum from Garnier Fructis, Sleek & Shine. Silicone is a bit expensive. So maybe give one of these home products a try first before investing in the real stuff. Add a very small amount into a single color, she suggests white, and test the results. 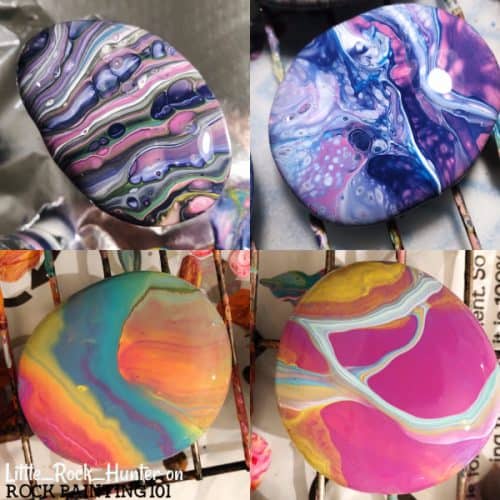
Pro Tip: When adding these ingredients to your paint less is more! If you add too much the paint will basically all slide off your rock.
How to pour paint on rocks, step by step
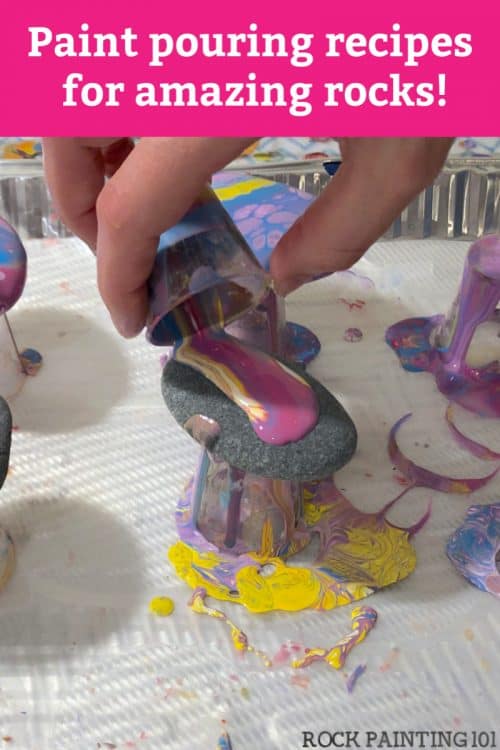
Once you have decided on your pour painting recipe, it’s time to paint some rocks! In a fresh cup start stacking your paints color by color. 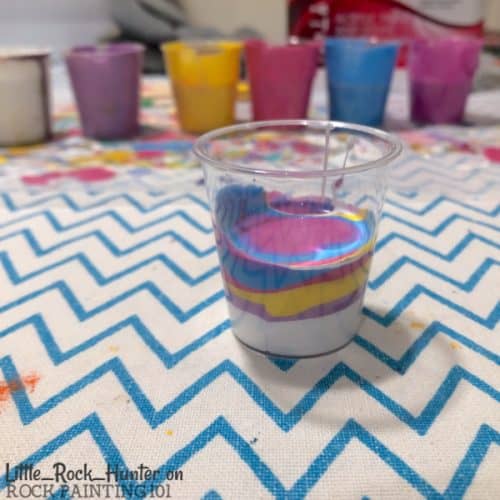 Then, with your rocks up off of your painting surface, pour your cup of colors over the top of your rocks. Mix and match the way you layer your colors to get different looks to your rocks.
 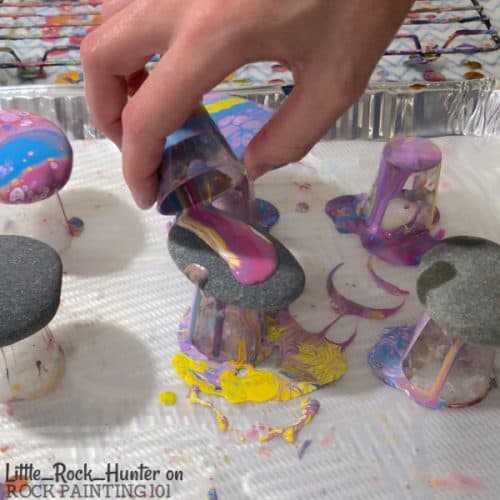 Allow your rock to sit a bit to let extra paint drip off. Then move to dry.
  Your rock might look a bit dull once completely dried but don’t worry that will all change once you have added on your sealer.
 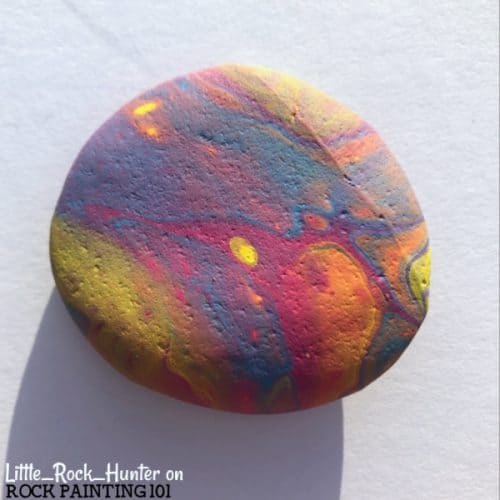 Add words to your rocks if you like before choose a nice glossy sealer to finish.
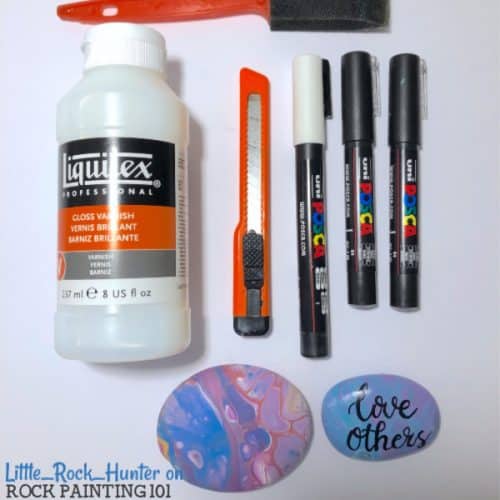 Follow Jess on Instagram so you can see all the wonderful ideas of what you could write on your rocks! Jess hides her rocks around town, trades with rock pals, gives rocks as gifts, and even sells a few! There are so many things you can do with your amazing rock creations!
Pin this rock painting tutorial to your favorite Pinterest board!