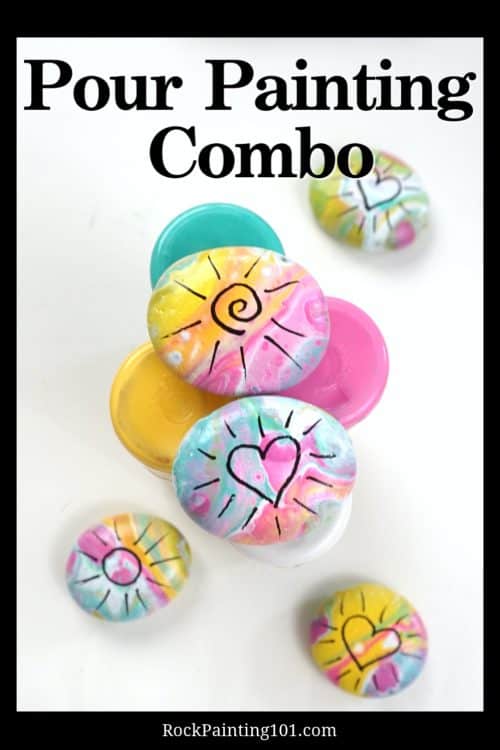
Have you ever tried pour painting with acrylics? It’s a fun and unique technique that not a lot of people really know about. But once you try it, I really think that you’re going to love this rock painting idea. Not only is it easy to do but it produces a fun outcome and look every single time. 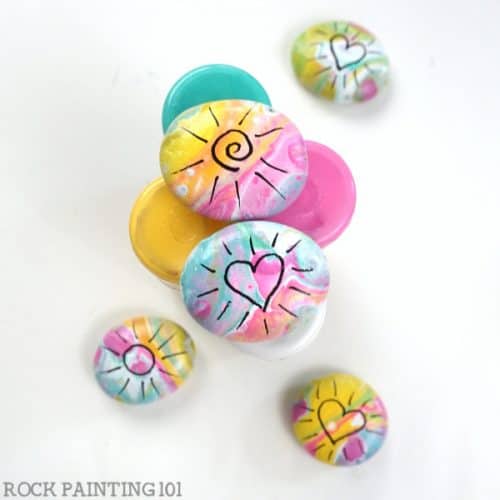
Pour painting with acrylics
This technique of pour painting colors is actually really, really simple. I like to use really bright colors to create a fun and cheery finish but that color choice is ultimately up to you. Just make certain to have fun because these are meant to be a bit different and not as “neat” of a finish.
There’s really no way to get a perfect look and this is what makes this painting technique so much fun!
This page contains affiliate links which means if you make a purchase using the link, I could receive a commission. Check out all the details here.
Supplies to create these pour painting colors
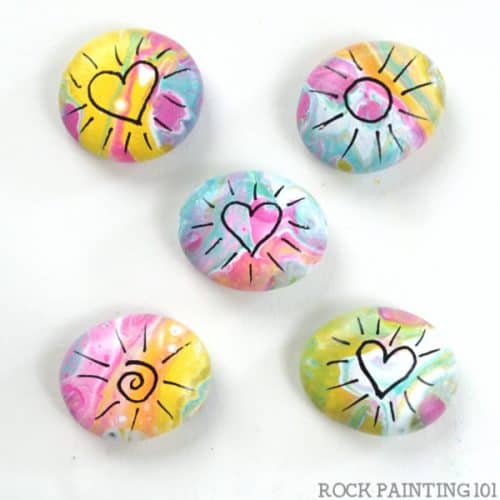
I used my yellow and pink DecoArt and a Crafts Smart teal. Floetrol is added to all paints. I added designs with my 1M Black Posca.
CLICK HERE to see ALL of our FAVORITE rock painting supplies!
You may be asking, what is Floetrol? It is a paint leveling agent. It will help your paints flow on the stones and you use a lot less paint this way. You can make a DIY version by mixing white glue 50/50 with water as well if you are just looking to test out the technique.
How to Pour Paint Rocks Step-by-Step
These images can get you started. If you need more details watch the full-length tutorial at the bottom!
First you need to mix your paints. Start with about 50/50 acrylic paint and Floetrol. You want a warm honey consistency so if you need a few drops of water to get there go ahead and add it. It really depends on how thick your paint is to get started. Then stack your colors in a small cup (medicine cups work well). I like to layer white between my colors.
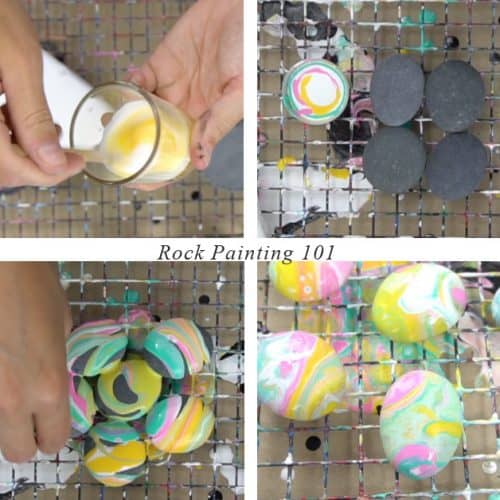
Then start to swirl the paint onto your stones. The paint will spread covering the surfaces, but you can help this along by lifting and tilting your rocks. You can even go back with a bit more of colors to fill in gaps if needed.
You will want to let these dry on a non-stick surface. I like to move them around a little while drying once the sides are safe to touch so the bottoms get covered in the paint that will gather below them. Once dry use a extra fine tip paint pen to add some fun designs!
Fluid Art Rocks Video
It’s really pretty to see how the paint moves around. Check out the full video tutorial to see it all!
See MORE pour painting styles here!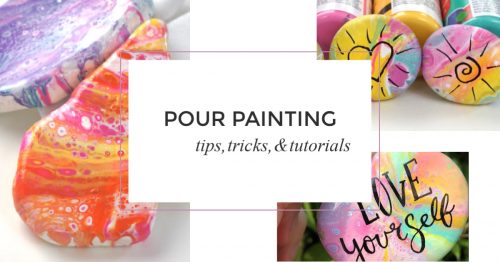
Pin these pour painting color ideas tutorial to your favorite Pinterest board!
Every time you pin, it’s sharing our content and rock painting ideas with more people in the world!