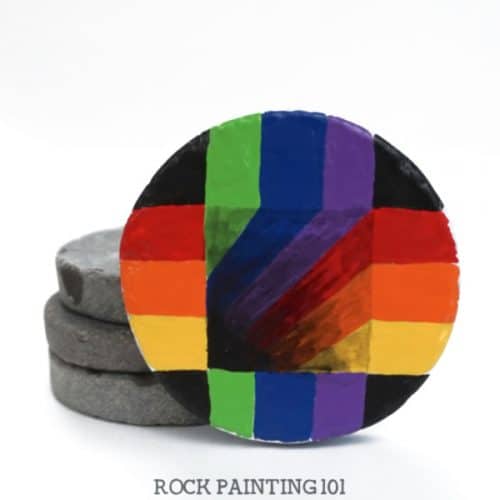
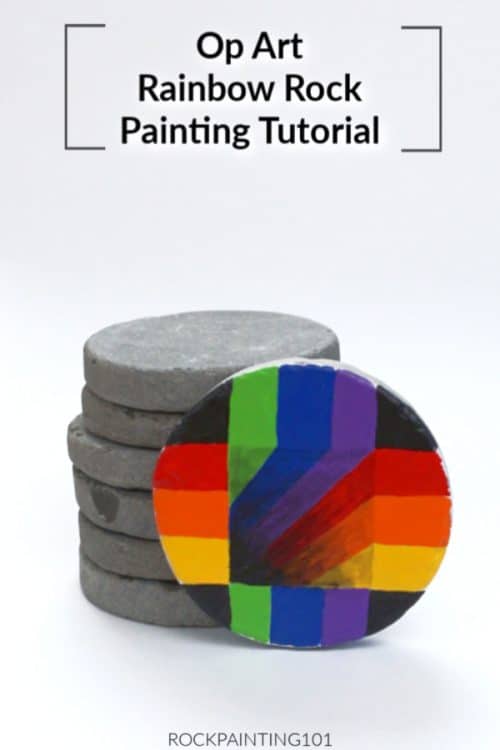
Create this easy rainbow op art painted rock and be prepared to wow. It looks like the rainbow is disappearing into the rock!
Rainbow Op Art
Op Art is creeping into the rock painting community and leaving people wondering ‘how did they paint that?’.
I just love how the circle rock makes the straight lines pop and accentuate the feeling that the colors are falling down a hole.
This rainbow op art project is perfect for the beginner. Check out the step by step instructions below, and you’ll be painting awe-inspiring rock in no time!
This post is sponsored by Capcouriers and contains affiliate links which means if you make a purchase using the link, I could receive a commission. Check out all the details here.
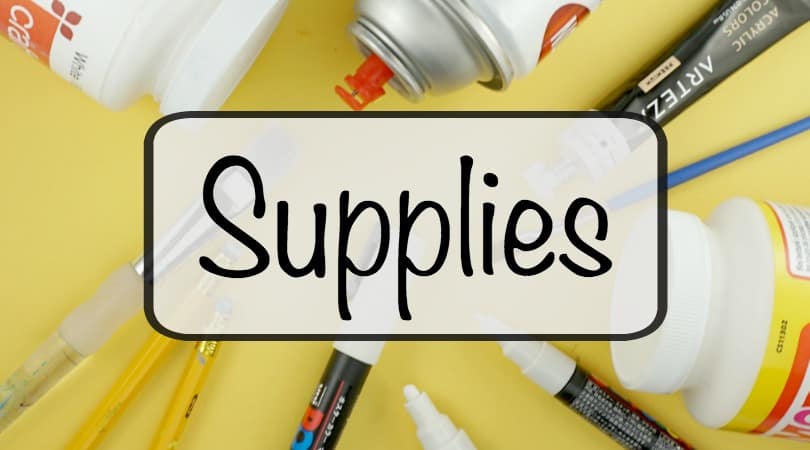
Supplies for painting this rainbow optical illusion
In this optical illusion tutorial, I used my Deco Art paints and my dotting tools
What really makes the colors look like they’re falling into a hole, is the perfectly round rock. We recommend using the round rock canvases from Capcouriers
How to make optical illusions on rocks
Start by giving your round rocks a quick base coat using a spray paint that includes a primer.
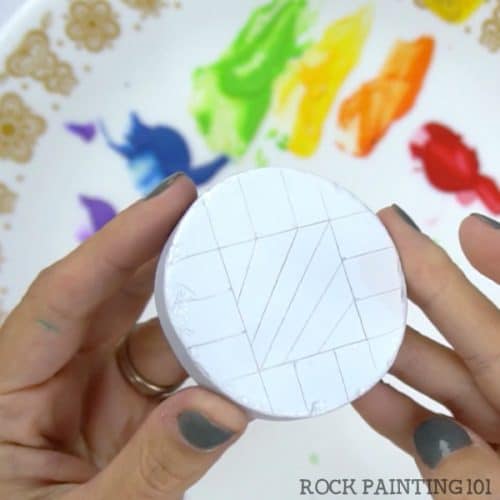
Once the base coat is dry, use a ruler to draw a square shape onto the center of the rock.
Next, extend the edges of the square out to the end of the stone.
Divide each of the exterior sections into thirds.
Inside the square, draw a diagonal line.
Next place 2 diagonal lines on either side. they will start on the top and right-hand lines and then slant slightly closer to the center. Making the lines appear skinnier the closer they are to the bottom left corner
Using the dotting tool, or a paintbrush if you prefer, begin to add your colors. I love rainbow colored rocks, so I’m painting my optical illusion in rainbow colors.
Pick your first section, and fill in the exterior and interior with the paint. Try to keep your corners and edges as crisp as you can. Repeat this with each matching exterior/interior section. Then fill in the exterior sections that do not “fall” into the hole.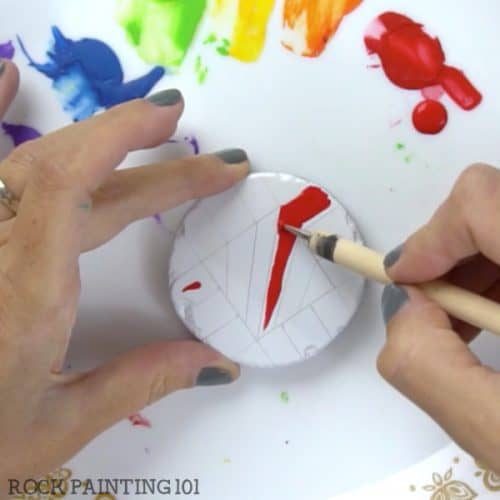
You want the colors to really touch each other, so use the smallest tip of the dotting tools to make sure that there is no white paint showing in between the colors.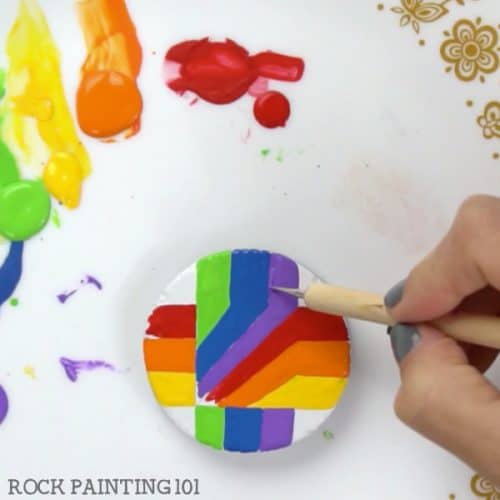
Let your rock dry completely. I let my rock dry overnight.
Using a nice square-edged paintbrush that is a little damp, begin painting black into the “bottom” corner. Be sure to keep the lines of the original square as straight as possible.
Next, get your paintbrush watered down and use it to thin down the black paint. Then paint out and away from the black you just painted.
You want the shadow to come all the way up to the original square’s line. This will give the effect of the colors falling into a hole.
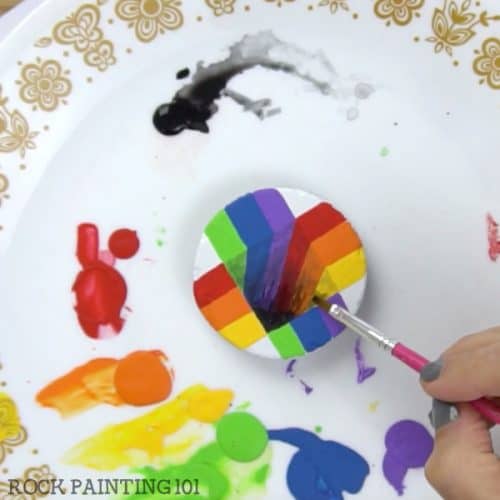
Finish it up by painting the corners black.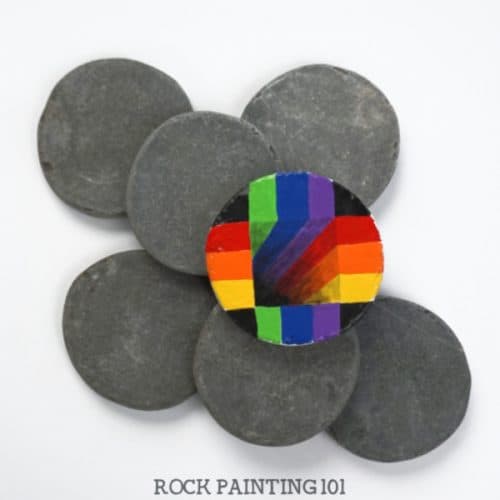
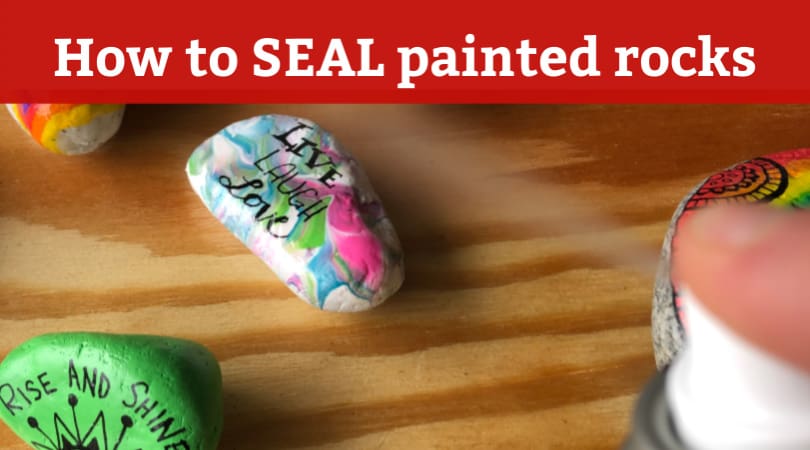
Sealing your op art
These painted rocks look amazing with a nice glossy sealant.
Check out our favorite sealers and our tips for sealing painted rocks.
Op art step by step video tutorial
Don’t forget to subscribe at the end!
Grab your Capcourier round rock canvases on Amazon!
Pin this Rock Painting Idea to your favorite Pinterest board!
If you enjoyed this fun rock painting idea, you’ll love these!