Learn how to prepare rocks and stones for painting. Yes, there is a step between buying rocks to paint and actually painting them. Check out these 4 easy tips.
How to prepare rocks for painting
So you have your rocks and you have your paints… but, wait, is there a step in between? The answer is YES!
A little bit of information that is seldom talked about is prepping your rocks before painting them.
Check out these tips for how to prepare rocks for painting. It’s simple and quick and will help your rocks turn out amazing!
Once you’ve finished this stage, you can move on to deciding whether or not to add a base coat to your rocks.
This page contains affiliate links which means if you make a purchase using the link, I could receive a commission. Check out all the details here.
Questions people have about prepping rocks for rock painting 1. Do I have to wash my rocks?
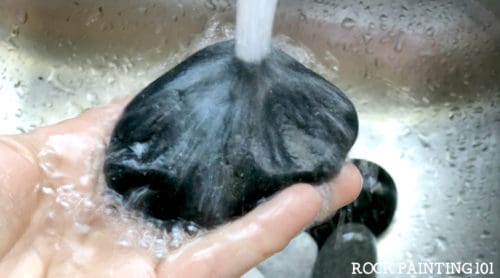
Well, I don’t know if “wash” would be the word I would use. I would go more with a good rinse. I treat my rocks just like I would treat a potato.
Run it under warm water and scrub with my fingers to remove any dirt that I see. If it is really dirty I might take a brush to it.
I let them sit in the sink for a minute and then place them on towels to dry.
2. What do you do if your rocks are waxy?
If you grab your rocks online or from the dollar store they might have a waxy coating on them.
This is NOT GOOD for painting.
There are lots of solutions floating around. You can boil them, use nail polish remover on them, or I have even heard to run them through the dishwasher! (we do not suggest this).
If possible AVOID waxy rocks all together.
Sure they won’t have that shine, but you can add that back once you are finished painting with a nice sealer.
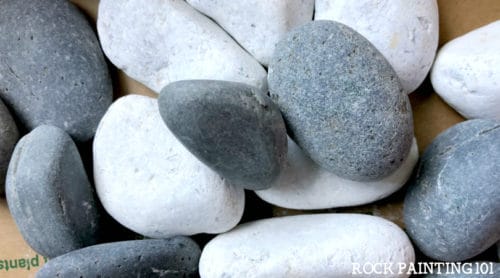
 3. What do you do with rough rocks?
There are different styles of decorating that you can attempt with these rocks.
Pour painting or let the kids have them.
I have heard of others using wood putty. While I have never taken this route if you want a super smooth surface you can give it a try!
4. Do you need a base coat?
This comes down to preference. I do a basecoat on about 50% of my rocks. It really depends on the design or the look you are going for.
If you are going to add a basecoat there are many ways to do it too! I like to use a pouring method for a big batch of rocks.
Sometimes I will take my time on a rock and give it a good 360 basecoat.
Other times I will simply lay down a layer of paint on the top!
There is no “right way” to do it, which is one of my favorite parts of this hobby!
One thing to remember. Let your base coat dry completely before moving on to your design.
How to paint rocks
Now that your rocks are prepped and ready to go, it’s time to really enjoy this hobby!
Watch this quick video to get the rest of the basic rock painting steps!
If you’re in need of more advise, I recommend checking out our collection of how to posts.
Maybe you’re just in need of a little inspiration? This assortment of rock painting ideas will definitely get the creative juices flowing.


