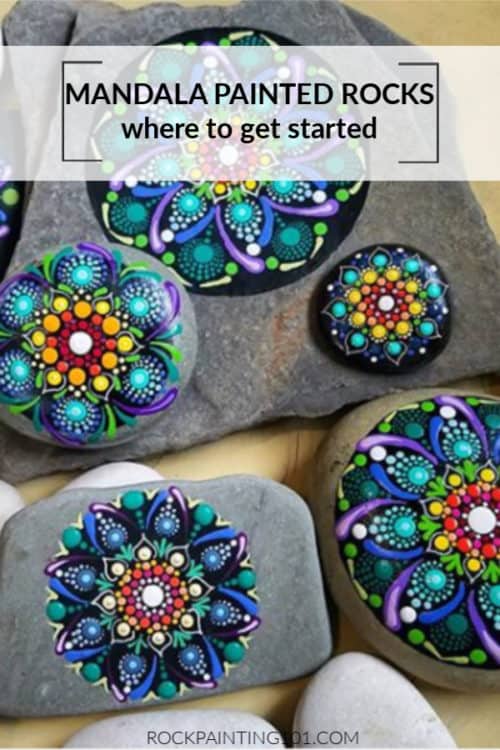
Do you want to make a beautiful dot mandala rocks, but not quite sure where to start? We have an amazing tutorial today from a wonderful rock painting artist, Miranda Pitrone. She will take us step-by-step on how to paint mandala rocks. 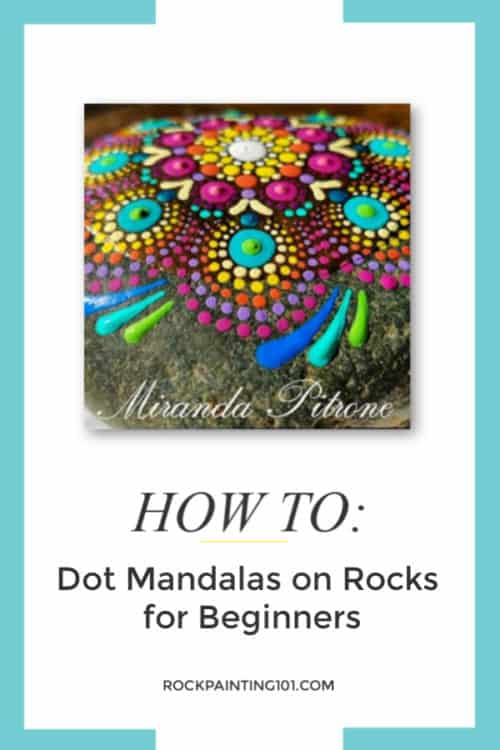
Dotted Mandala Stones
Some of the most stunning painted rocks I have seen are dot mandala rocks. They are beautiful, intricate, and let’s face it, intimidating! Today we have a special tutorial from an amazing member of the rock painting community. Miranda Pitrone has been painting rocks for years. She first started with nail polish on rocks back when she was just 5 or 6 years old! All that time painting shows as her rocks are just beautiful. 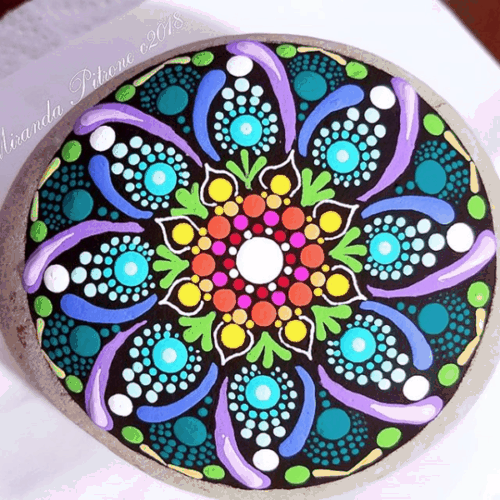 Lucky for us, she has learned some amazing tips along the way and she is breaking down a basic dotted mandala design for us today! You can see her beautiful creations on Instagram and she does wonderful tutorials on YouTube. She donates rocks to charities, gives them as gifts, and even sells them in her Etsy shop.
This page contains affiliate links which means if you make a purchase using the link, I could receive a commission. Check out all the details here.
Limited time class!
If you want to take your dot mandalas to the next level, check out this amazing class by Liona Hotta.
Grab the early bird discount by March 31st to save!
Step by step instructions for this dotted mandala rock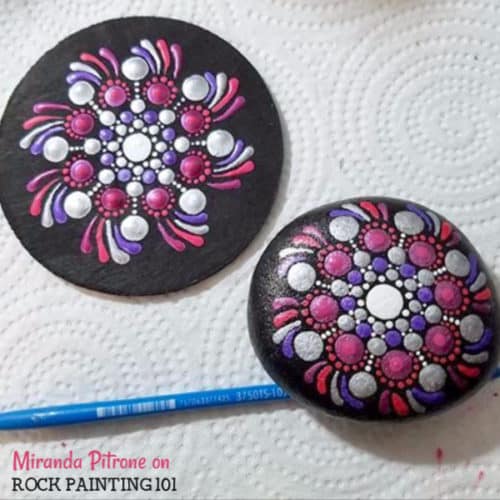
Supplies for painting dot mandalas
In the video below, Miranda is using dotting tools. She also uses brushes for dotting. For paint, she suggests using the water-based acrylics like DecoArt. They are thinner and ready to paint with. If you only have thicker paints make sure to thin them out to a good dotting consistency. They shouldn’t leave peaks when placed onto the rock.
Grab all your rock painting supplies here.
To start, find the center of your stone. Either eyeball it or measure. Start with a larger dot in the center. You may have to make a small circle with your dotting tool. 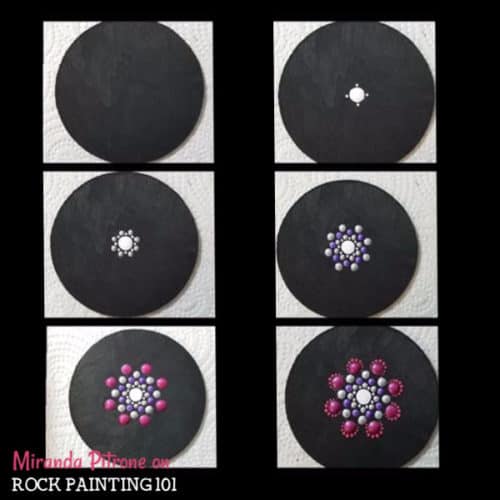 Next, create an X using smaller dots off of your center dot. Miranda just uses the paint in the center circle. Then split each of those sections in half with another small dot. Now, using a new color and a larger dot, add in one dot in the V of each smaller dot. Here is a closer look.
ARTIST TIP: Let your dots dry a little bit between layers. This will allow the edge of the dot to be dry and help them from flooding together.
Continue adding the larger and larger dots in the Vs around your stone. When you are ready you can start adding on smaller dots again. Miranda makes her dotting tip even smaller by breaking off the ball tip. You can also use a pin, toothpick, or something else around the house. Starting at the outer edge of your dot, place one dot down and then walk them down one side of the circle. Your tool should leave a bit less paint with each dot. Make sure to take your time with this. Put the dotting tool down just enough to leave the paint. Also, be sure to lift your tool all the way up so you do not drag these dots together. If you are up for another challenge you can also try dragging dots! Do this by placing a dot and slowly pulling it to create a comma.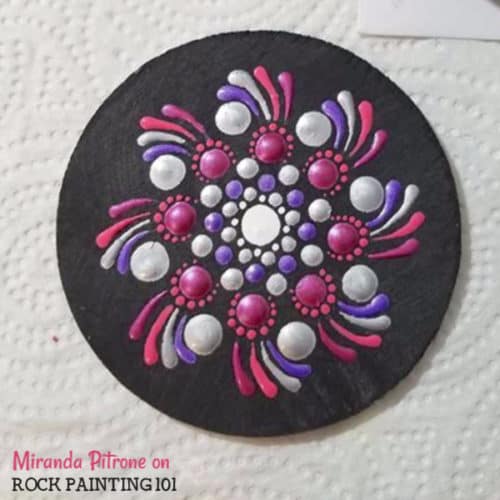 All of these techniques can take some time to master, but with practice can be done! You can watch Miranda create this stone from start to finish in the video below. Make sure to follow her page on YouTube for more amazing videos! How to paint dotted mandala rocks!

