These tips will help you save paint while pour painting on rocks. Create beautiful results while using less paint. Which means you can create more painted rocks! Win. Win!
Save paint while pour painting
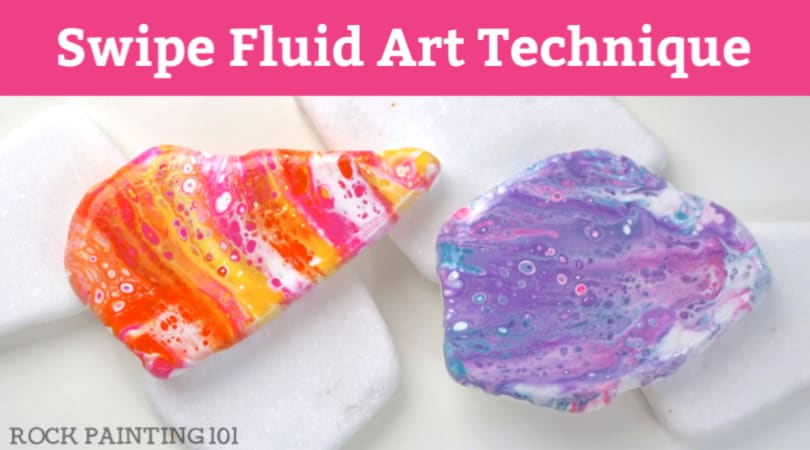
I love the beautiful look of a pour painted rock. The colors swirling and mixing together. They create one of a kind rocks that are perfect for hiding or adding words to.
The only thing I don’t like about pour painting on rocks is you tend to waste a lot of paint in the process. I have a paint-pouring technique that I use when I want to use up paint, but you can only use colors that mix well.
Today’s tutorial will show you a whole new way to save paint while pour painting and use all the bright colors you love!
This page contains affiliate links which means if you make a purchase using the link, I could receive a commission. Check out all the details here.
Step by step instructions for this acrylic pour painting technique
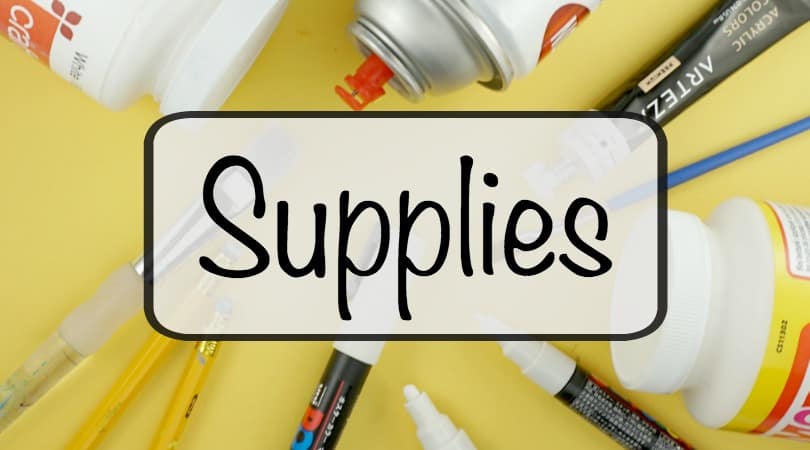
I used my Deco Art Paints Liquitex Flow-aid and mini cups (like miniature solo cups) I also used the pour containers from my base coat tutorial.
For this technique, I used 2 separate pouring containers. This is important because you want to save your white paint for future pouring.
Mix your acrylic paint with flow-aid. Use the directions on the container for how much water to dilute the paint by. Then add the mixture, a little at a time, until you have a good pouring consistency. You want it thin, but not watery.
GRAB ALL OUR POUR PAINTING SUPPLIES HERE
You can see the paint in the video below to see it’s movement. 
Pour your colored paints into a small lid. This way they don’t spread too much. 
Base coat your rock with white. You want the base coat to still be wet for this process.
Once you have your white coat move your rock to a second pouring container. This way any colored paint drips won’t land in your white container.
Find something to stamp your rocks with color. You want something that will not absorb paint. I’m just using a glue stick! 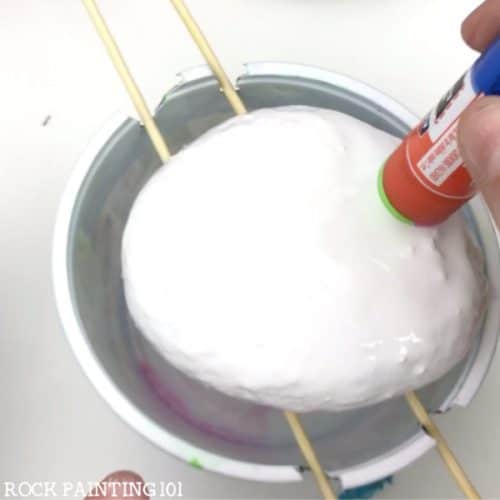
Play around with this! You will see the paint moving around and swirling just like a pour painted rock. 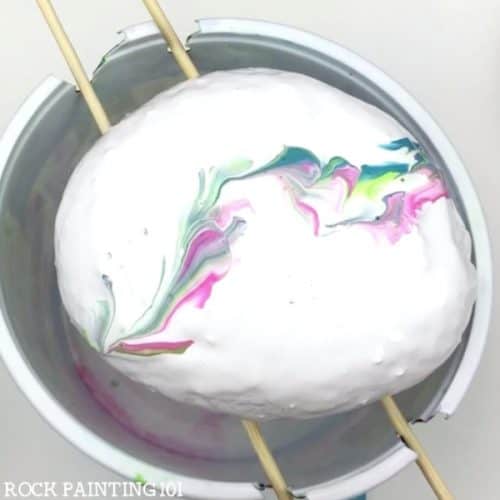
Stamp the lid with the paint. Then the rock. Continue going back and forth stamping paint and then rock.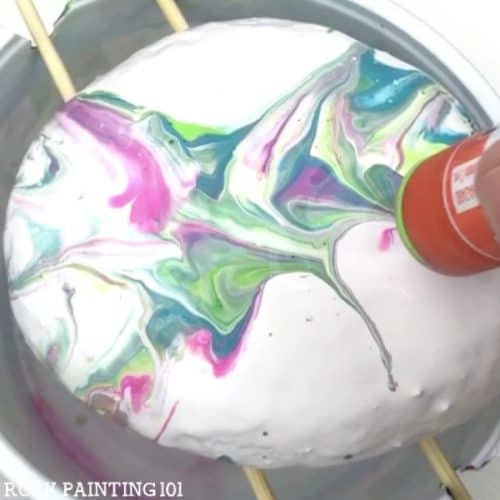
Go as far out to the edges as you want. 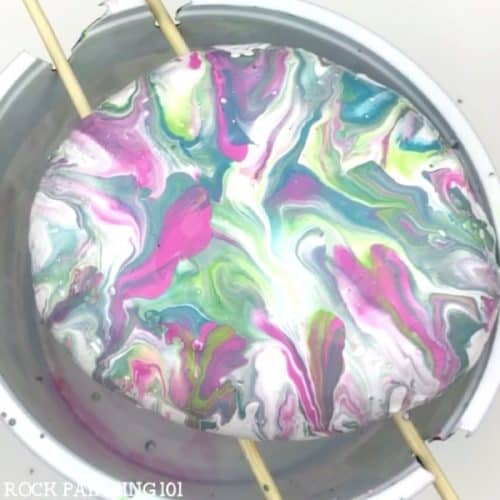
You can clean off your stamp if the colors start to blend on it too much. 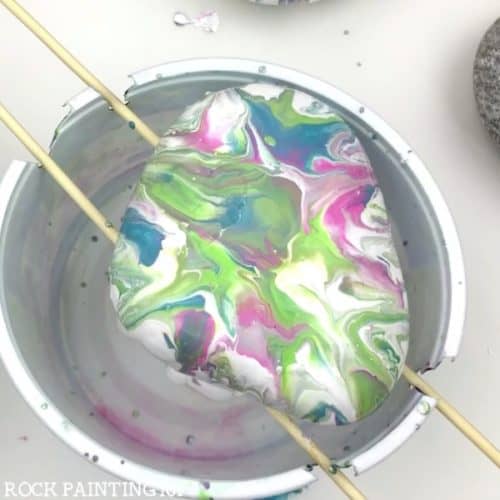
If your colors get too muddy on your rock you can blow off the problem area with a straw. 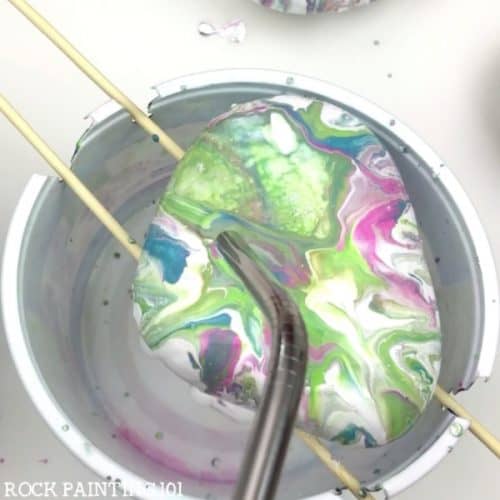
Add some more white. 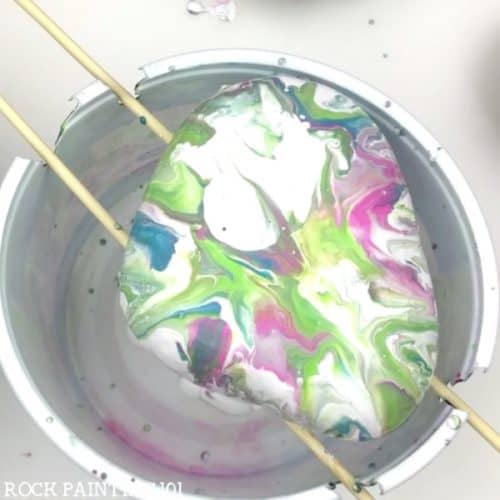
Then more color! 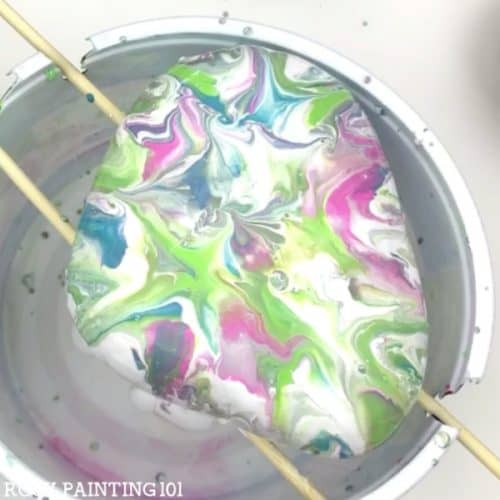
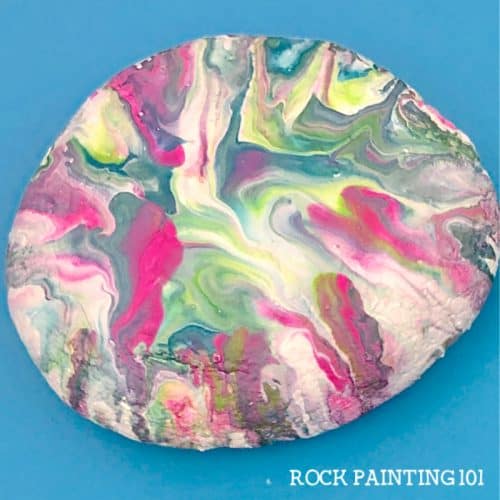
How to pour paint without wasting paint!
Pin this rock painting tutorial to your favorite Pinterest board!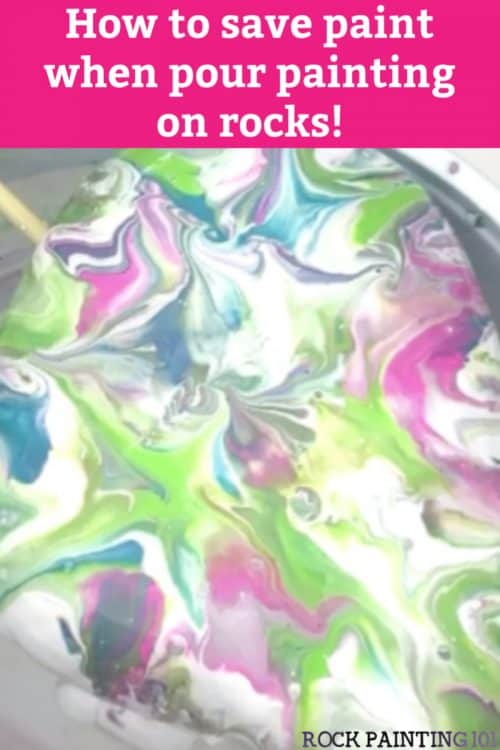
If you enjoyed this fun rock painting idea, you’ll love these!