Painting dot mandalas on rocks. This is something that so many rock painters strive to improve on. However, without some guidance, it is hard to know-how! Today we have an amazing mandala artist that is sharing her 6 best tips to support your creative journey and take your mandalas to the next level!
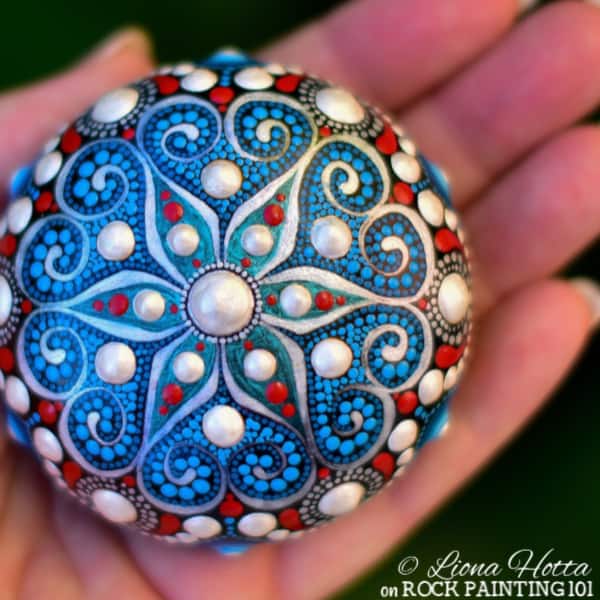
Our guest post today comes from the amazing Liona Hotta.  Her dotted mandalas are breathtaking! Liona sells, hides, and gifts her rocks to anyone lucky enough to have one!
She has a wealth of knowledge when it comes to improving your dotting technique and is sharing a lot of amazing insight with us today. Plus, she has a course if you want to take your dotting skills to the next level!
This page contains affiliate links which means if you make a purchase using the link, I could receive a commission. Check out all the details here.
Take your dotting to the next level!
These days I am bundling my dotting course with a swirls and swooshes course.
Enroll today to receive an early bird special on HOW TO DOT YOUR MANDALA WITH A BRUSH & SWIRL AND SWOOSH IT.
In the dotting course, I teach you how to use a brush for dotting. It is a practical and inspirational course.
During four weeks, my students learn and practice all they need:
- How to mix the paint, recognizing the right consistency for dotting (using tube paint, not bottle).
- How to prepare the brushes.
- How to load the brush correctly.
- How to apply the dots.
- And more…
With video tutorials and practice worksheets, with calm background music and clear instructions. You will join a member´s only Facebook group where we have weekly Q+A live sessions, and where students share photos of their practice sheets and get help from the graduated course members and me.
At the end of the course, we will paint a mini mandala together – many sizes of dots with only one brush!
You are about to be surprised how easy it is to brush dot!
Follow this class up with the swirl and Swoosh course where you will learn:
- Freehand SWIRLS and SWOOSHES,
- My VELVET DOODLE Technique,
- Introduction to PEARLY DOTS,
- Working with Iridescent and metallic paints.
- Introduction to color blending.
Sign up for this rock painting course bundle HERE!
I invite to read more about the course and what my students think of it in this link:
To Dot Your Mandala With A Brush[/button]
Dotted Mandalas
Before you get to the tips I’d like you to know that nearly none of them talk about technical issues or give you dotting fast solutions and tricks to use on your work. None of them will make your work faster, none of them will help you be a mass-producer of art pieces.
However, following these tips will make you a better dot mandala painter! I have used and keep using these tips in my daily work and they are the ones who make my work so successful. I am not more talented, nor wiser, nor more gifted than anyone else. I am simply ready to investigate, experiment, and learn while painting. I take my time, I dive in.
The greatest gift my mandala painting journey gifted me is actually the knowledge of these tips (and more). Following these tips contributes not only to my creativity and my art but also to all aspects of my life; my family, my marriage, my financials, my self-esteem, my happiness.
All these tips affect more aspects than it might seem in the beginning. Whenever I confront a new obstacle, a new challenge, they re-appear in a different subtle form and remind me I can successfully deal with anything. 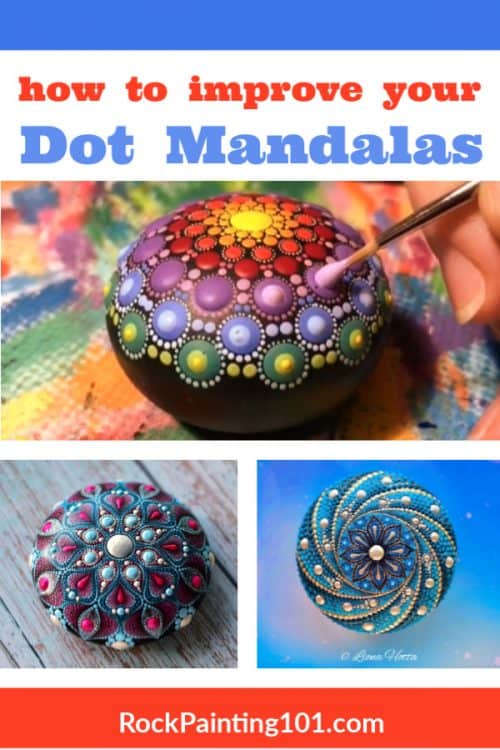
Tips for Improving your Dot Mandala Technique
1. Slow down, Be there, be in the moment.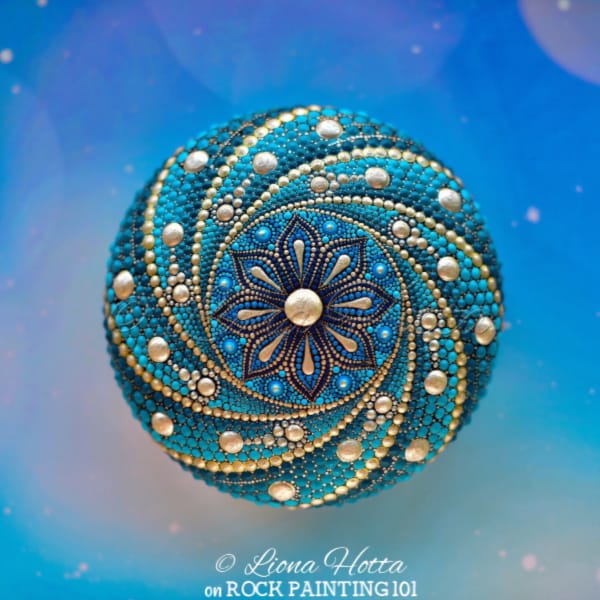
I know it sounds like the cliche; “Be in the moment” or, “Live the moment”, but…
Remember, your mandala dotting art is much more than the end product. It is a meditative process and the expression of your soul. This process is the number one factor, influencing your outcome, i.e. your product.
How to “be in the moment” when painting?
Get your face closer to your dotting surface – yes!
Watch closely how the dot is created – witness the moment the dot separates from the brush and rests on the surface. You can’t do this hovering over like an eagle, spreading dots like running ants. You need to guide your viewing angle, land it down, and slow down to a nearly total motion stop. If that means you have to lift up your surface- do it! (also take a break from time to time, to stretch your body in the opposite direction).
Don’t forget to breathe while at it, don’t hold your breath. When you stop breathing oxygen doesn’t reach your extremes, and your painting hands are part of your extremes. Holding your breath might cause your hands to shake as a result. The calmer you breathe – the more relaxed you’ll be – the more control you’ll have in your hands.
With time, zooming in and relaxing will help you get control over your dot form, size, and distance (about zooming out some other time).
Listen to music, a subliminal or non-subliminal meditation, affirmations, or even listen to an audiobook that discusses a positive change of your mindset, while dotting.
Dotting is a meditative state of mind you don’t want to miss benefiting from!
Make sure this time is YOUR time, and that YOU are making the best of it, for the sake of your growth in all aspects.
2. Paint non-sketched mandalas.
If you aren’t doing this already, make sure to paint non-sketched mandalas.
The non-sketched mandalas are the best kind of mandalas to practice and maintain a high level of accuracy. It all depends on YOU to paint and maintain the size and distance of dots equal, so it grows evenly from the center out.
This contributes to your vision of symmetry, you can later apply to sketched or partly sketched mandalas.
Count the dots- if you have maintained the size and distance accurately – the number of dots around each dot, even center dots, should be the same (or with very small differences).
Counting the dots not only helps you check and ensure your symmetry but also puts you in that meditative state we talked about in the first tip.
3. Once in awhile dedicate time to learn a new skill.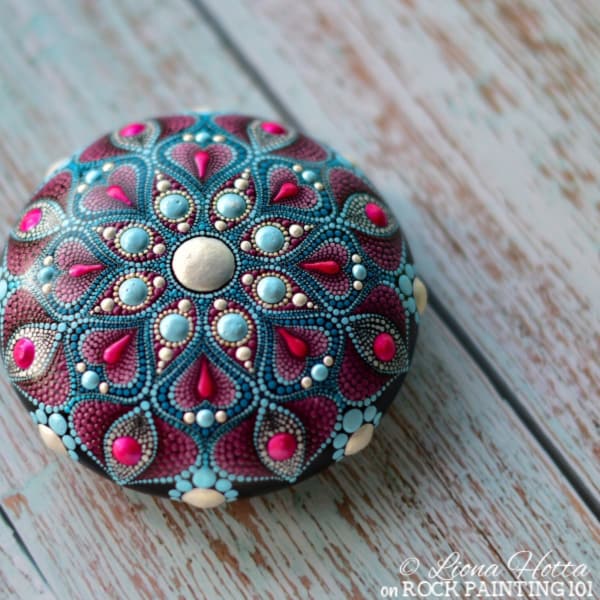
Enhance your technical abilities and learn new ways to dot (tools, toothpicks, brushes, cones, etc).
Take time from the race of being so-called productive, trying to finish as many pieces as you can in the shortest time, to actually become better.
You are not in a race, nor competition, you are here to learn and grow. Open up your mind.
Practice new techniques.
The web is full of tutorials, free or paid courses. Look for tutorials teaching something new about technique not only new patterns to follow. Expand your limits, step into new zones you haven’t been to yet. Soon you won’t believe you were doubting yourself.
4. Be flexible while painting – “listen” to your art.
Paint is just paint- color has its impact on you- listen to it.
Paint can be cleaned up or painted over. Don’t make a drama if things don’t work – this is a game of creativity you’re supposed to be playing and enjoying, not a punishment, not something to be suffering from.
Sorry “the forever suffering artists”, I don’t buy it, just like I don’t buy that love should be painful l or destructive. I do, however, feel that through art and creation, we vibrate those emotions we consider negative. We dwell upon them in order to clear them up and just like a good cry, release them at the end of the process (but that is a whole book chapter to write one day).
Take breaks- from five minutes to whatever time it takes (hours, days, weeks, months) and let the piece call you back (in the meantime you can paint other pieces).
Breaks give you time, time gives you perspective, perspective opens and enriches you with new ideas.
Let the piece tell you what it needs next. Don’t know it all in advance, don’t block the creative flow of your own creation. give it time- take breaks.
Change the color.
Let’s say you decided to paint in a certain scheme today and you keep having problems. Your dots don’t come out as you wish, the distances are unequal, you feel it is stuck and you can’t seem to get it right.
Stop.
This might be happening because you are insisting on the wrong color frequency.
Why don’t you try this: Throw your stone in a bowl of water, let it soak, clean it. Breathe in, relax, and mix new paint- start over with a different color.
You might have consciously decided for pink today, but it is actually your blue day or your green day, or whatever other color combination day. Don’t insist, let it flow and let yourself go with that flow.
Colour change affects all other parameters of your ability to paint.
5. Don’t compare your work to others
Sometimes we look for inspiration on the social web (Facebook, Instagram, Pinterest etc), and while this is indeed the best source for some inspiration, where we can find almost anything these days, it could become a double edge sword.
Eventually, it depends on the state of mind we are at when approaching the net for inspiration:
When we feel we need inspiration, it is usually because we are either excited about making new and different stuff or, it might be because our own well of ideas and muse is dry.
In this case, looking at another creator’s work, might cause the exact opposite effect of what we expected and wished for when we turned to search for it in the first place.
We suddenly see the capacity of another person, THEIR progress, where THEY are at, skill-wise, price wise, idea wise, quantities wise ability-wise… This might cause us to close within ourselves, even more, feel smaller and find ourselves in the worst trap for creators – the comparison trap.
“oh, why do I even bother…”
Be sure to always and only concentrate on YOUR OWN PROGRESS. Compare YOUR past work to YOUR present work. Acknowledge YOUR own growth and improvement.
How to do this? here is an idea:
I keep in my drawer a couple of stones from the days I started dotting and once in a while, I take them out and look at them closely.
Do this! You won’t be able to ignore the differences, you won’t be able to deny the progress you’ve made. It will be so obvious to you. You’ll see exactly how you have improved, and you’ll recognize, again, how much you have evolved.
This will put you right back on track. This will transfer your state of mind from a thirsty, empty, needy, lost victim, to an excited, curious, and a “what’s next” adventurous discoverer.
This is the starting point you want to be in when launching an inspirational search.
6. Declutter – let go of your finished mandalas.
Creativity is energy. I’m sure you are aware of it, but maybe you don’t understand how it works or what can you do to help this energy keep flowing and benefiting your art.
This is so beautiful, so simple and basic. It is a natural law. Not only in art but in all life aspects:
You need an empty container to be able to fill it.
You need to be away from a dear one (take space) in order to miss them and be happy to see them again.
You need to be hungry (have an empty stomach) in order to enjoy food again.
You need to rest in order to be active again.
You need to earn money in order to be able to spend money.
This constant filling and emptying of our container is the natural law and cycle.
No part is either negative or positive. Both emptying and filling are neutral aspects of life.
(Sometimes I like to imagine watching the world from above and seeing the multiple filling and emptying motions happening simultaneously everywhere and on all levels of lives- it feels amazing! Anyway… to the point:)
You need to make space in order for something new to arrive.
This empty space is the womb, it is the landing track on which the new particle can softly and safely land and start its life’s journey.
I don’t tell you to get rid of all your creations:
You can definitely keep some, so you can later compare them with new ones you create and witness your progress, like in tip #5.
You can sell some- exchange energies, so you can buy new materials and tools and improve the conditions of your creative space.
You can gift some as presents and influence other people’s energies.
No matter what you do- make that space! You cannot fill a cup that is already full.
Only when there is space – new creation can happen.
Actively and consciously say goodbye, give thanks for being the tool through which this creation had materialized, and then send it away, making space for new inspirations to shine on you.
Follow along with Liona Hotta on Instagram, Facebook, and the Blog. Don’t forget to check out her dotting course.
Enjoy this video tutorial!
Pin this to your favorite Rock Painting Pinterest board!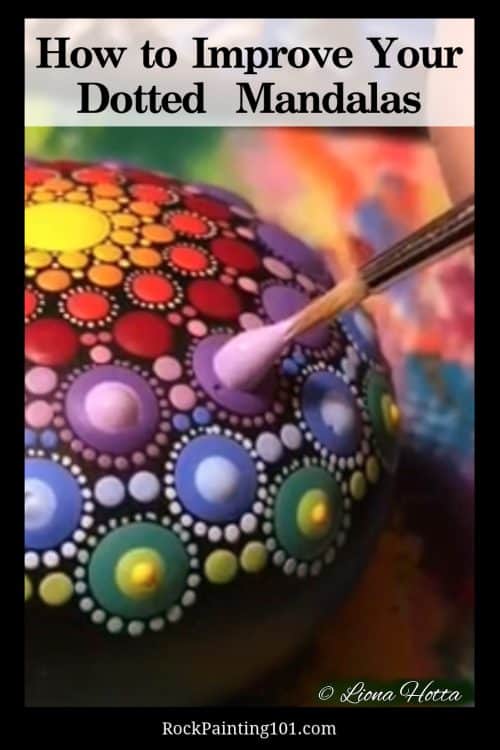
If you enjoyed this fun rock painting idea, you’ll love these!