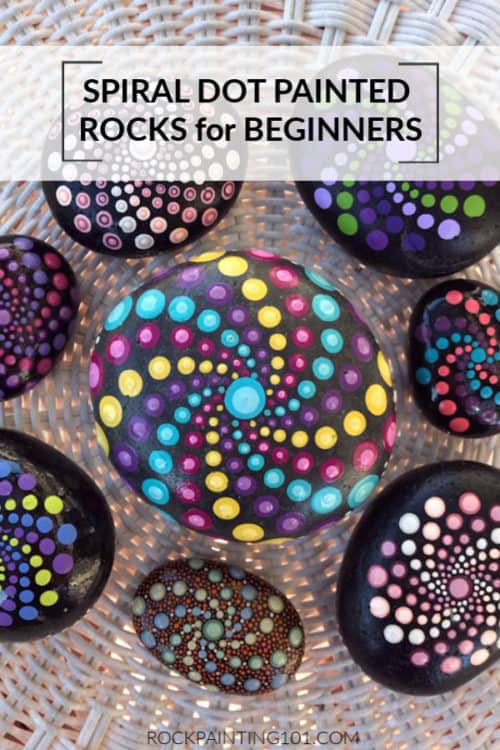
Dot painting on stones takes a bit of practice. Getting those dots to line up can be very tricky. In this tutorial for spiral dot painted rocks, we will be sharing an awesome tool to help with lining all of those dots up. It’s called a Pip!
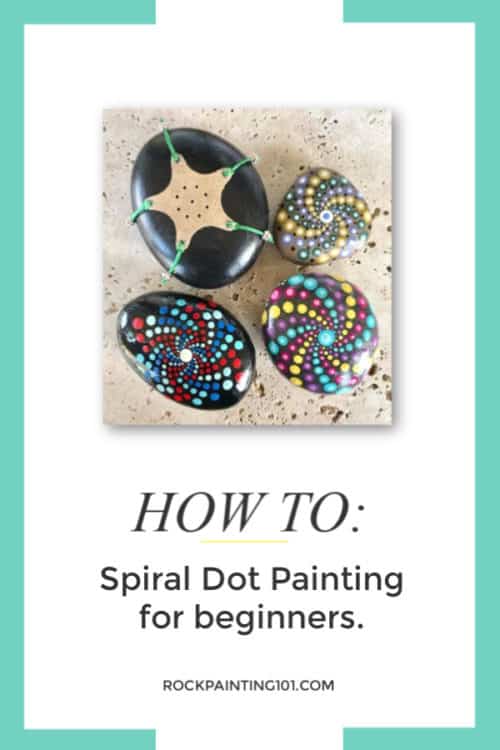
Spiral Dot Painted Rocks
This page contains affiliate links which means if you make a purchase using the link, I could receive a commission. Check out all the details here.
If you are a member in our rock painting tutorials group you may have seen one or two posts from Milestones Handpainted Keepsakes! Mike and Jane have shared numerous tutorials to help those just getting started with dotted rocks. They have been painting stones for just over a year and also create a wonderful little assistant to painting rocks. The Pip!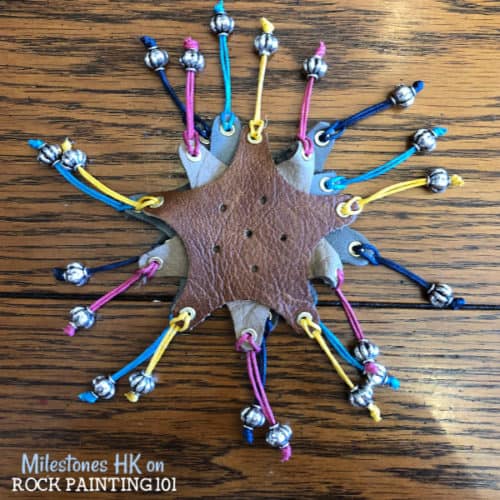
This little piece of leather that they sell, in their Etsy shop, is helping rock painting beginners everywhere space out their dots with confidence!
Supplies for creating dotted spirals
Acrylic Paints, Dotting Tools, white chalk pencil, and a Pip. Or grab one of their dot painting sets!
Grab all of your dot painting supplies here!
Limited time class!
If you want to take your dot mandalas to the next level, check out this amazing class by Liona Hotta.
Plus, get an early bird discount if you enroll by March 31st!
How To Dot Your Mandala With A Brush
This class starts on May 4th, with early bird pricing through May 1st. You don’t want to miss it!
Step by step instructions for creating a dotted spiral stone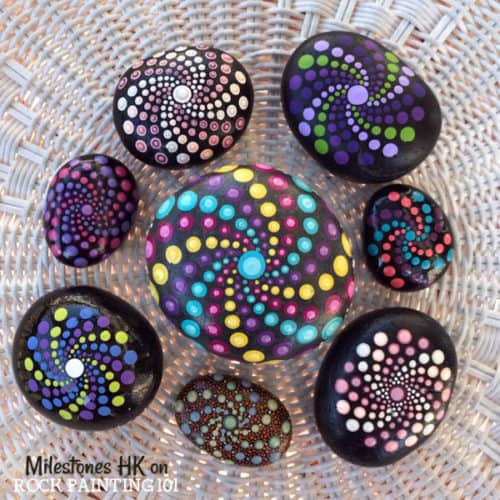
If you have a Pip, start by placing down guidelines on your rock. Without a Pip just eyeball the center and give yourself a larger dot to work around.
Start by placing down alternating colors of dots on your rock. Equal distance to the center. Next, place a slightly larger dot a bit farther from the center in between your first set of dots. You want the colors to continue back and to the left of each previous row. 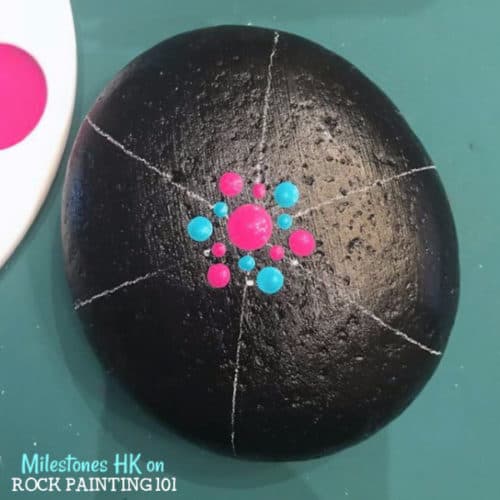
Again make sure to alternate colors. Continue working your way out and enlarging your dots until you reach the edge of your rock or your desired size of the design. Once your design has dried you can remove your chalk marks with a damp cotton swab. 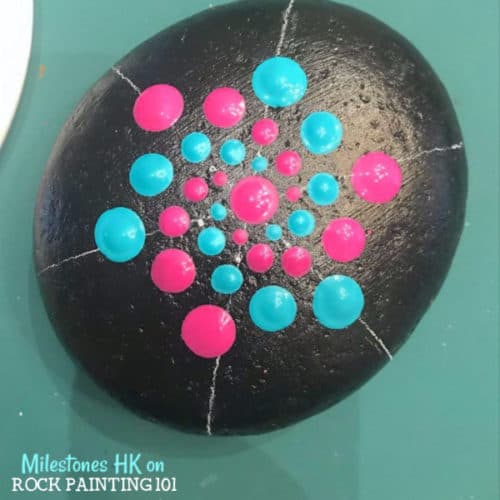
Make sure to check out the entire process in the video below!
You can follow along with their rock painting tips and tutorials on Facebook, Instagram, and on their YouTube channel.
Once you get the basic pattern down, try out using more colors and more dots around the center. You can also use their wonderful Pip to create more of a mandala style rock.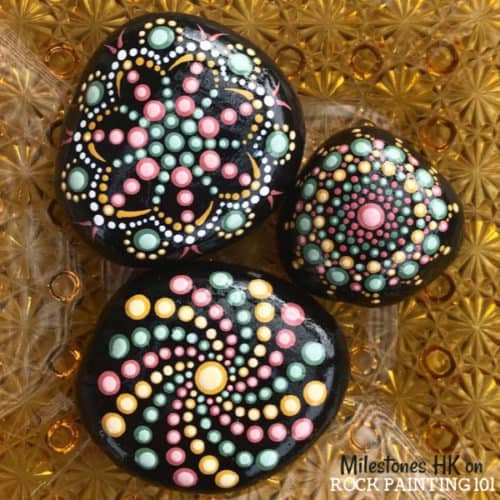
How to paint a dotted spiral on rocks!

