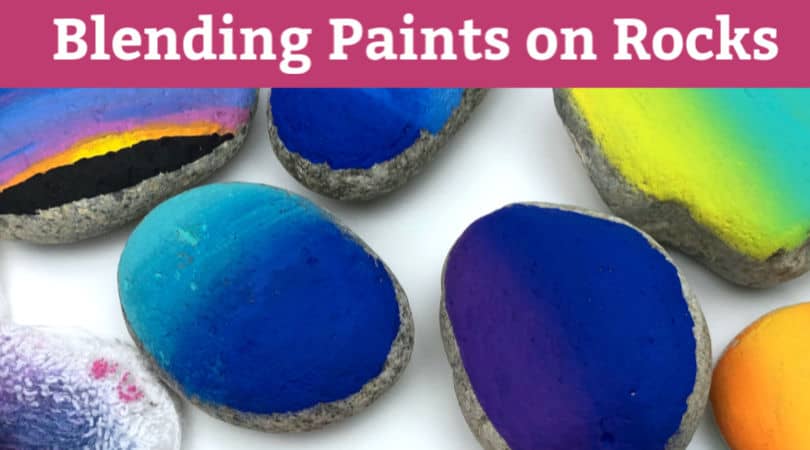
Using this ombre background technique, you can create beautifully painted rocks for any season! We painted the ombre into a circle to give it even more of a wow factor.
Ombre Background
Blending with acrylic paint is one of those things that you just get better and better at with time. I am by no means at the top of my game, however, I have some good tips to help you get started.
Today we are blending an ombre effect. With an ombre background, it is OK to see the changes in color happen a bit so it is a good place to start working on your blending skills.
This page contains affiliate links which means if you make a purchase using the link, I could receive a commission. Check out all the details here.
Step by step instructions for creating the ombre effect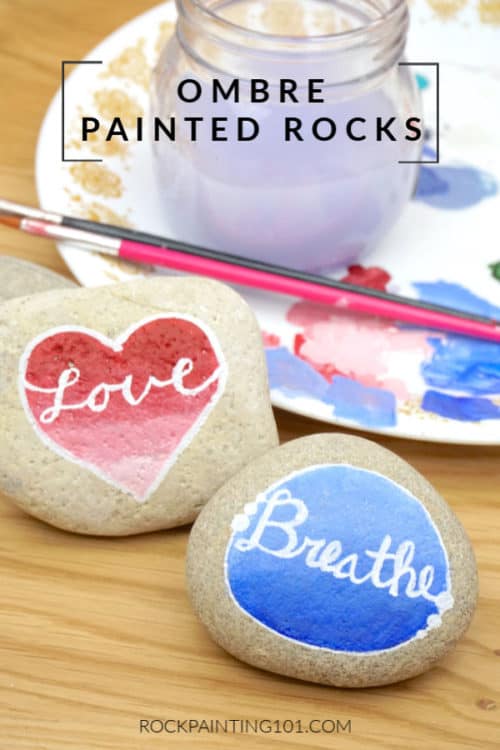
Grab all of your rock painting supplies in our Amazon shop!
Pick out any color you like and white.
Start by picking the shape you want to fill. I did both a circle in blues and a heart in pinks. You could also basecoat the whole rock with this technique!
If you are going to do a shape use a paint pen to draw an outline for you to fill in. 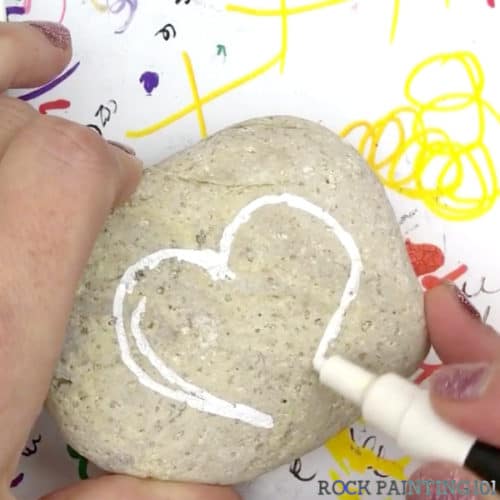
Next, using your base color, paint horizontally across the top (or bottom) of the shape. Make sure to go all the way to the edges.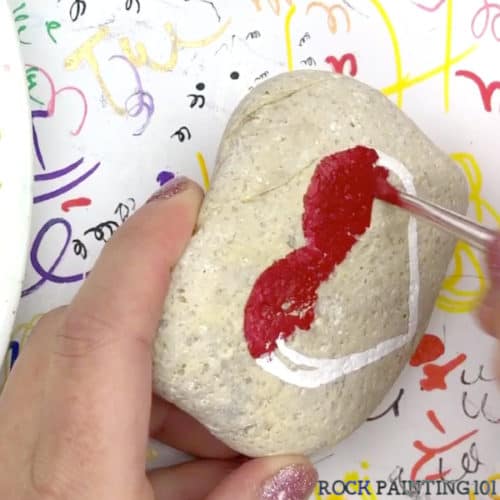
Then blend some white into your color. Just enough to make it one shade lighter. 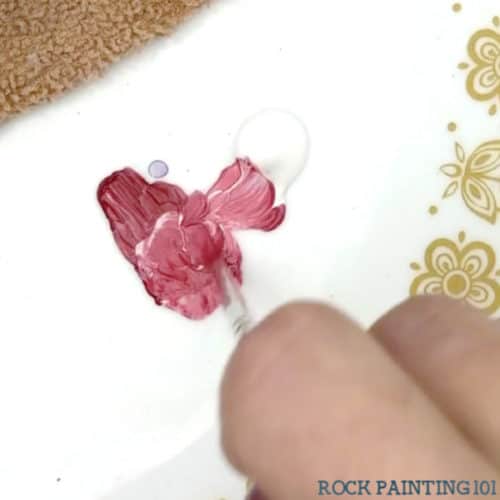
R101 Tip: I always like to leave a bit behind of the original color on the edge in case I need it for blending purposes.
Paint another horizontal strip right below the base color with your new, lighter, shade of paint. Get close to your main color but do not blend them at first. Just go edge to edge of your shape about the same width as your first shade. 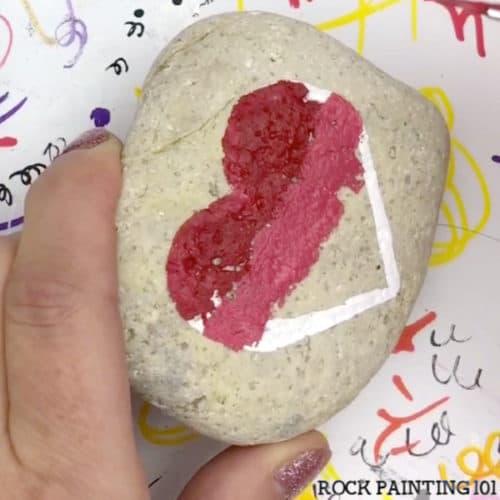
Wipe off most of the paint from your brush and start blending the seam lightly. Use the same side of the brush as it will pick up a bit of both of the colors and help in this process. 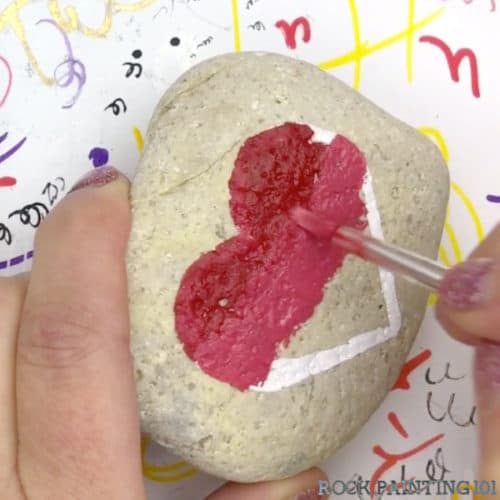
Then go back to your color and add in more white. Create your horizontal stripe and then blend.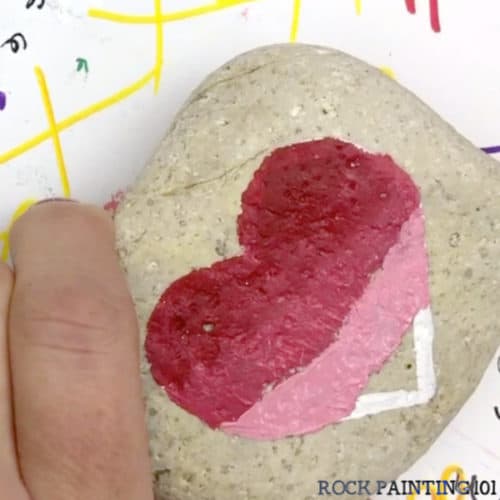
Continue this process until you have filled your space. You will want at least 3 shades of your color to pull off the ombre look. I like to do 4 or more. 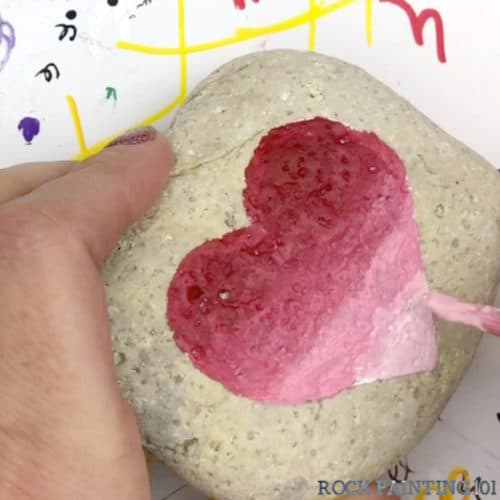
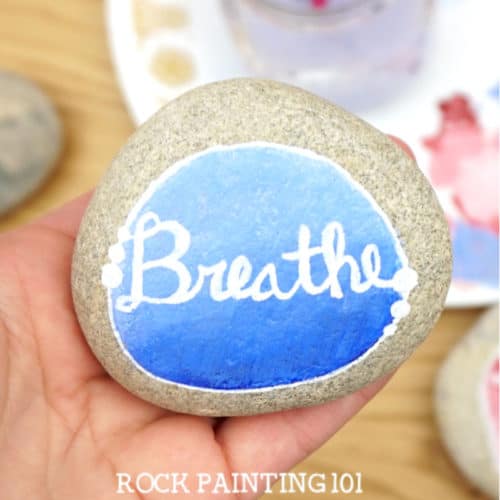
If you went with a fun shape, like this heart, you could leave it as is. However, you can also use this as a great kindness rock.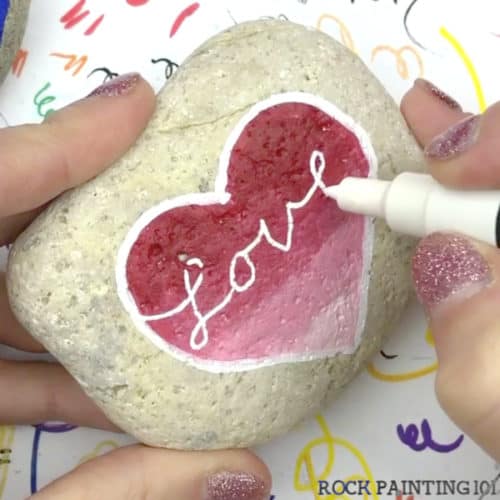
Trace the outline and add on your word. I used some of the hand lettering on rocks techniques to thicken up my lettering and complete the look. 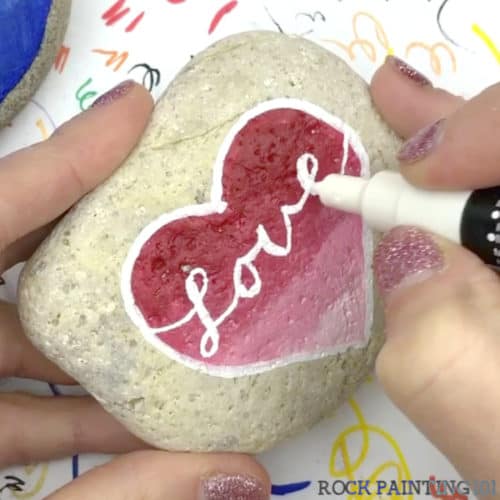
I just love how this ombre background painted rock turned out! (pun intended) The blue is beautiful too! I hope you give this blending technique a try!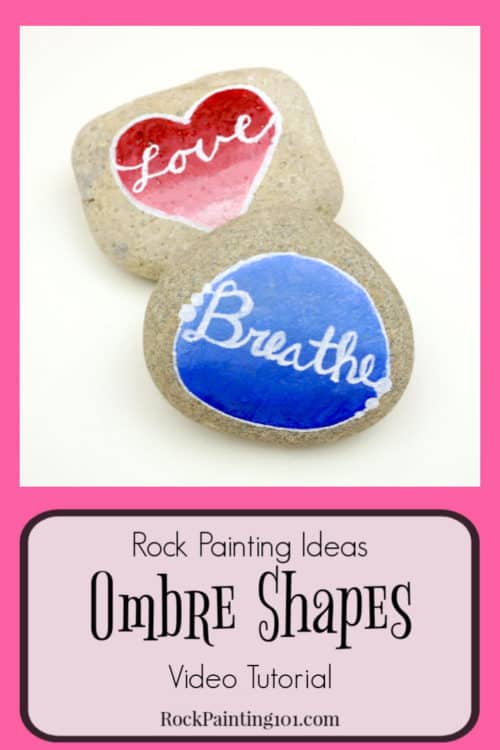
How to create ombre rock painting
Follow us on YouTube and never miss a video!
Pin this rock painting tutorial to your favorite Pinterest board!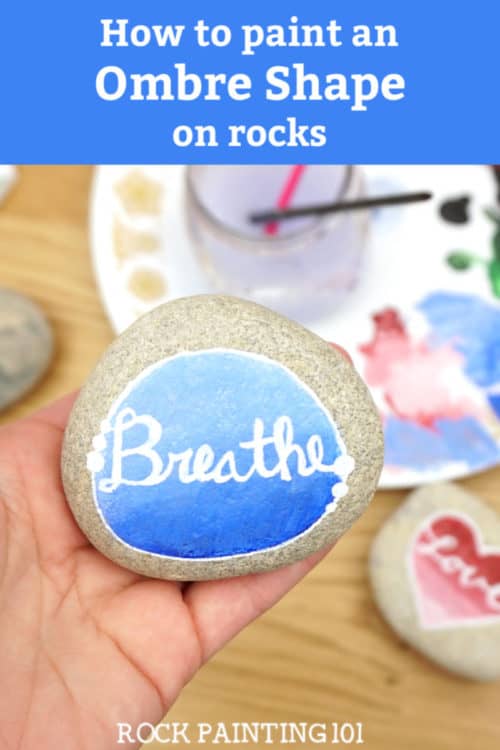
If you enjoyed this fun rock painting idea, you’ll love these!