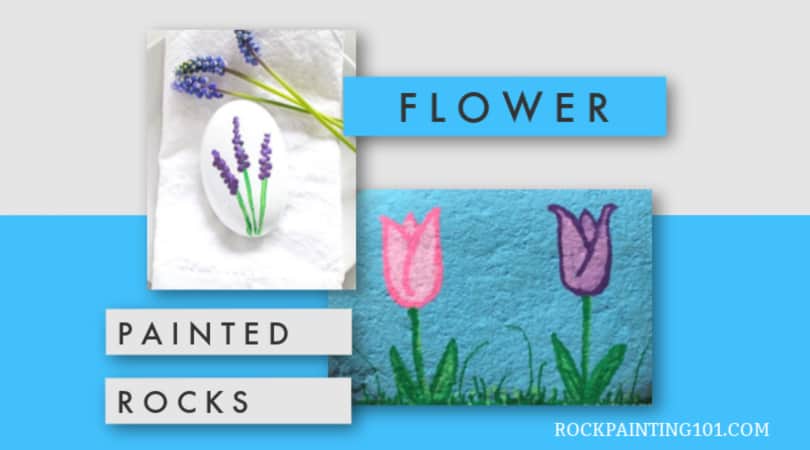
These flower vines painted rocks are a fun and simple flower painting idea. You can use paint pens or a brush to create this rock that people will love finding!
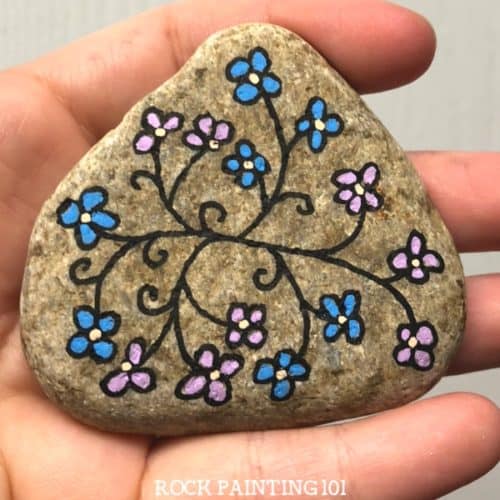
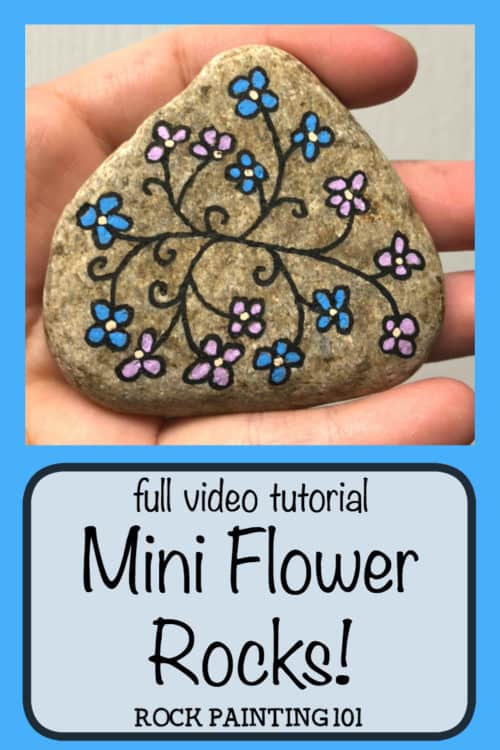
Mini Flower Vines Rock
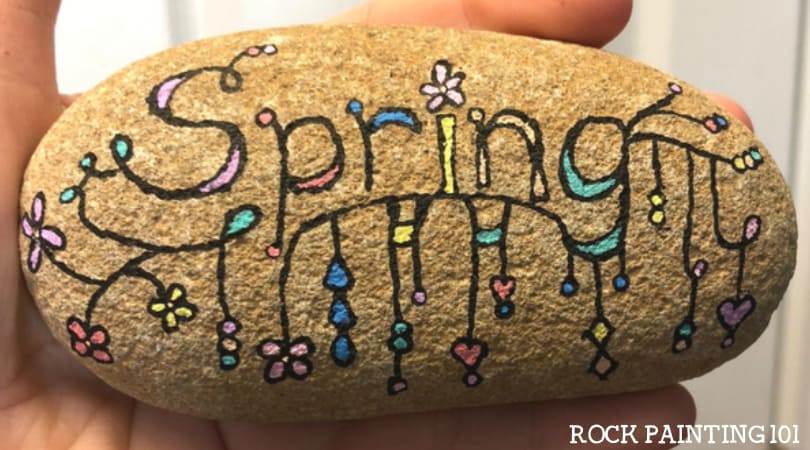
After painting my dangle spring rock, people asked me to go into detail about how I painted the mini flowers. This simple flower painting idea works great on its own or mixed with another design. I used to doodle these a lot when I was younger. My school books would have little mine flowers all over the covers. You could easily add a letter or word to the center of this rock and it’s perfect for oddly shaped rocks or smaller pebbles. So grab some stones and let’s paint these flower vine rocks.
This page contains affiliate links which means if you make a purchase using the link, I could receive a commission. Check out all the details here.
Simple flower painting ideas!
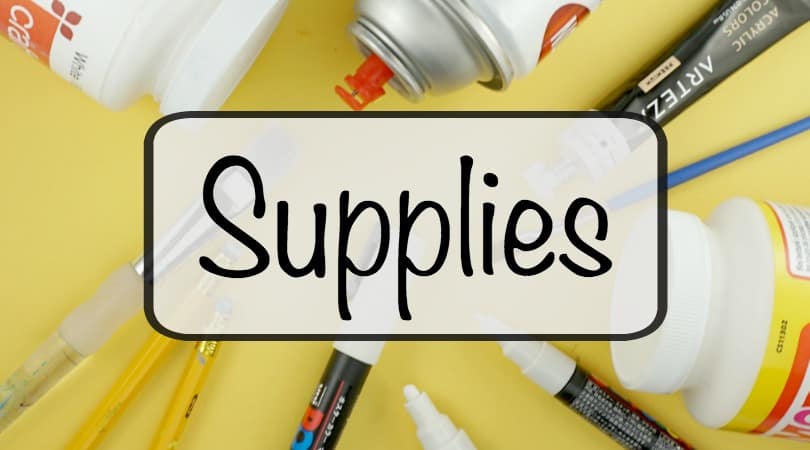
You can grab the Posca pens that I used on this painted rock here.
Step by step instructions for painting flowers on rocks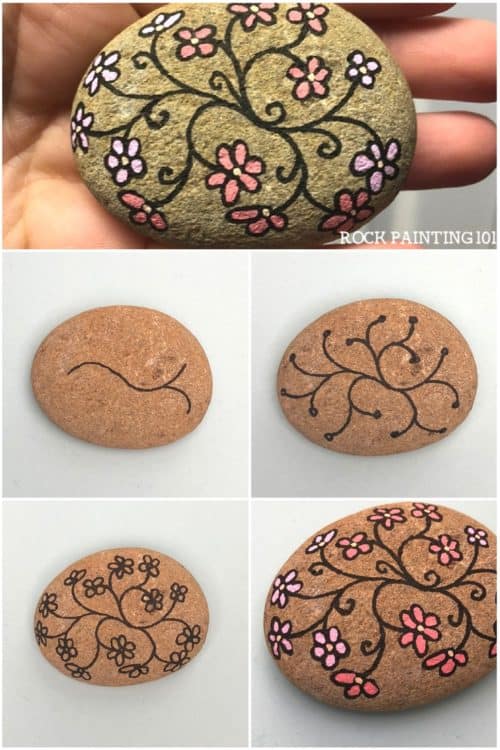
You build off of one line in this style of rock. So start with your main line. It doesn’t need to be straight, in fact, this rock starts with a slightly wavy line. You’re going to add a flower to both ends of the line, so don’t get too close to the edge of your rock.
Start somewhere along your line and pull a new line off to the side. Do this a few times. Then you can make small lines off of these lines. Almost like it’s a tree. It all goes back to that base (or original line). Work your way around the rock, creating these little curves towards the outer edges.
Once you have your basic shape, Add a circle to the end of each line. If your not comfortable making a circle, just make a dot at the ends.
Draw the first two petals on either side of the vine. Then finish the flower around the dot. It’s going to split at the vine anyway, so might as well start there so you don’t end up with a split petal. If you don’t have room for each flower to have the same amount of petals, that’s ok! Make a couple with only 3 petals. Or maybe that flower’s petals fell off…they don’t need to be perfect.
For the colors, I used these beautifully colored paint pens. You can use any color combo you want. You can even use a brush to paint these mini flowers. Start filling in the centers of the flowers. Just go around and dot the center of each flower. If you go over your lines, it’s ok! You can touch up when you’re completely done.
Next go in and color the petals. I like to color each branch the same color. You don’t have to do it this way, but that’s the way a lot of plants grow, so that’s how I did it.
You could leave it how it is, but I like frills. So anywhere you have some open space, you can add a few curls back to the vine.
101 Tip!: Remember, the paint wants to go onto the rock. You don’t have to press hard. Pressing hard could cause your paint pens to splatter.
Pin this Flower rock to your favorite Pinterest board!
If you create one of these rocks, please share it with us!! Leave a picture in the comments of our Facebook Live!
If you enjoyed this fun rock painting idea, you’ll love these!