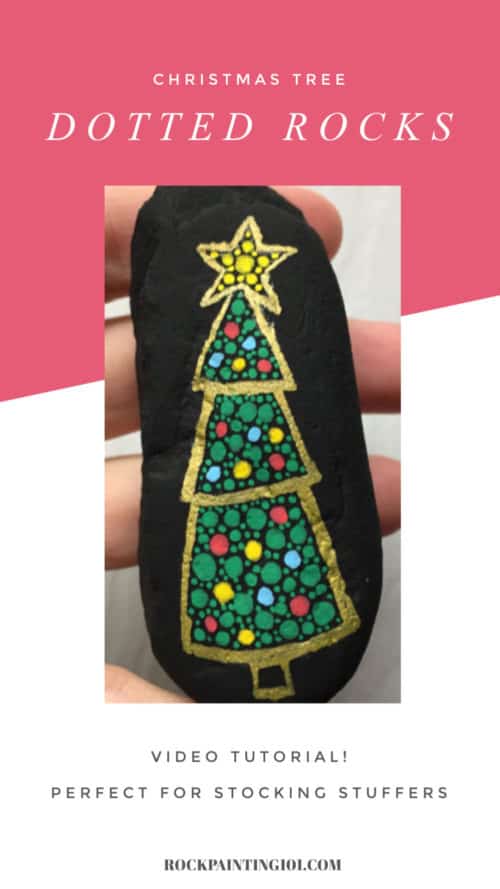
Create this fun dotted Christmas tree rock with this fun video tutorial. This Christmas rock is perfect for beginners and is sure to bring smiles this holiday season!
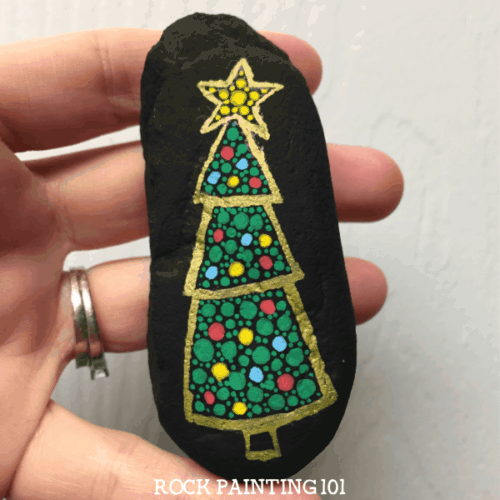
Dotted Christmas Tree Rock
So even though it is a bit cold outside, I still love to hide a few rocks around town.
While the holidays seem full of joy for many people there are a lot of lonely people out there as well. So this rock is something you could do in batches.
Make them big or small and hide them around to brighten the right person’s day at just the right time.
This page contains affiliate links which means if you make a purchase using the link, I could receive a commission. Check out all the details here.
Step by step instructions for this Christmas tree painted rock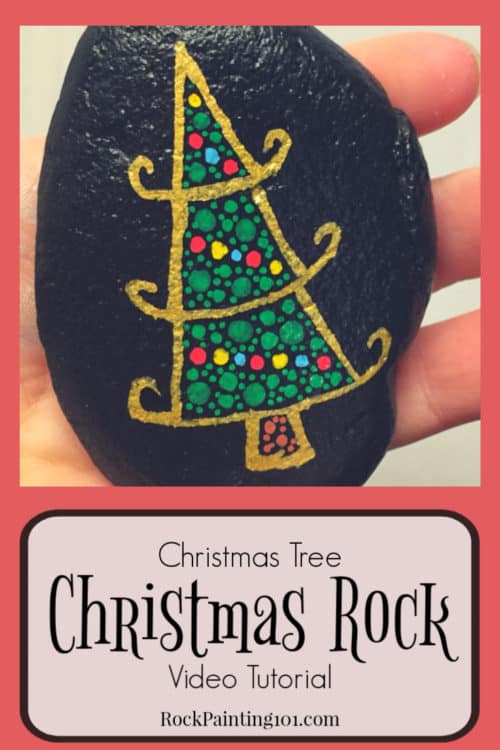
If you need rock painting supplies, check out our Amazon shop!
I did use a gold paint pen for my outlines, but to fill in your tree you can use pens or dotting tools. If you don’t have any dotting tools check out this post to see how easy it is to find things around the house to use for this project.
Start by outlining your tree. Make it any form that you like.
You will see in the video below my 3 trees are all very different. Give your tree a nice thick outline.
I chose gold, but if you don’t have gold you can use green. Now start adding in dots.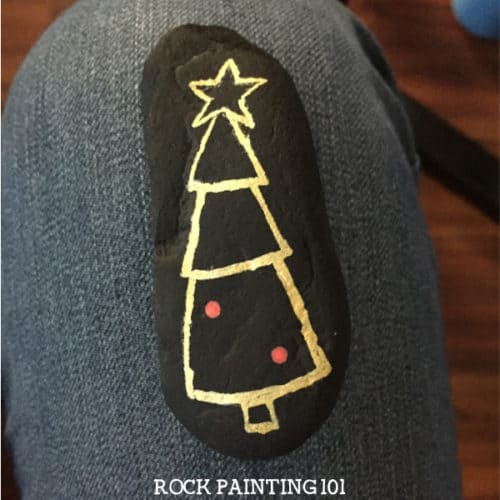
Add in your colored dots in the biggest size you plan to use. Have them alternate colors and go in a downward angle. 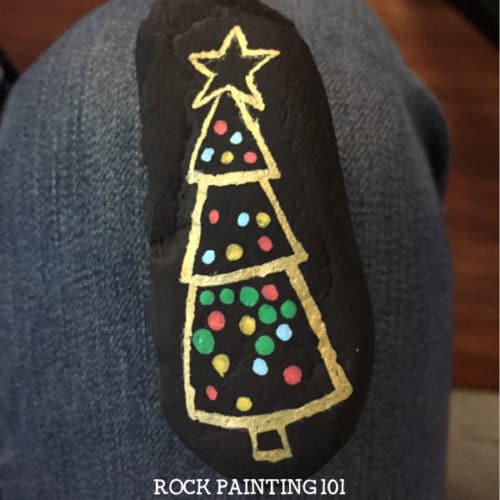
These will be your lights. Then start filling in your tree with green. Start with dots the same size as your lights. Then start adding in smaller dots. 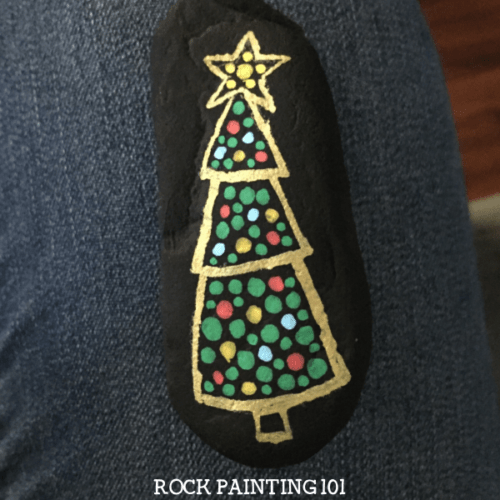
Don’t forget your star. If you have a steady enough hand you can go in with even smaller dots. 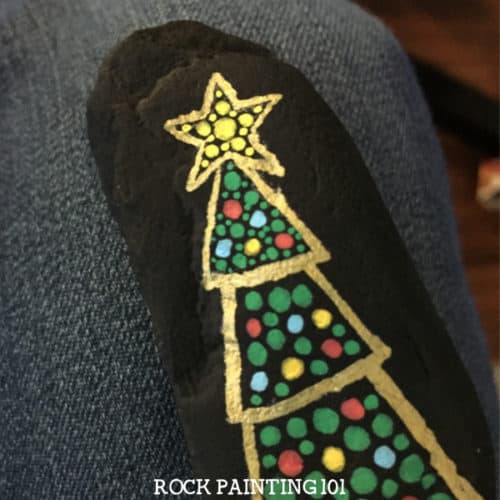
I forgot the trunk in this tree but did fill it in on my others.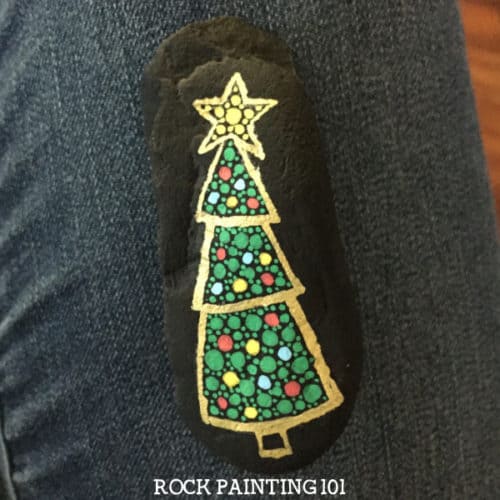
I hope you give this dotted Christmas tree rock a try. It’s sure to bring a smile to someone’s face!
How to paint a Christmas tree on rocks!
Follow us on YouTube so that you never miss a rock painting video!

