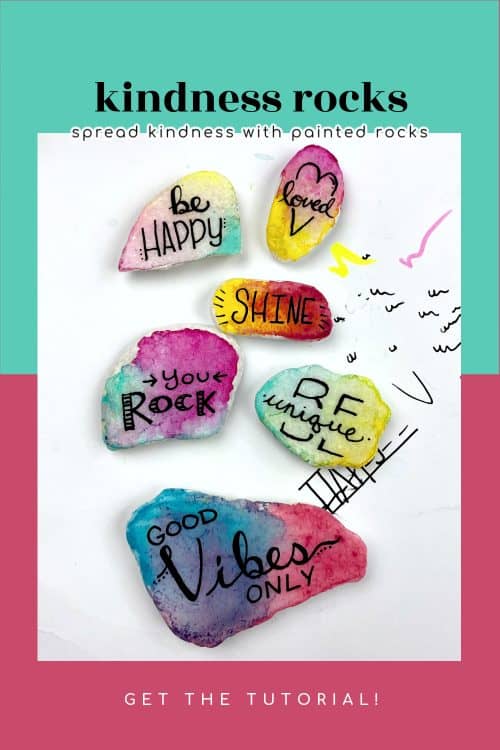
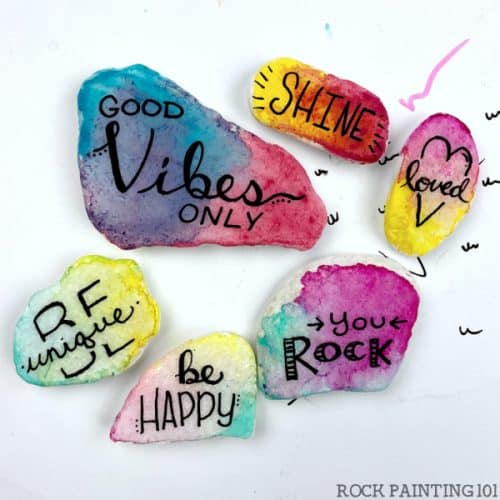
If you paint kindness rocks you are always on the hunt for unique new word rock designs! I have a fun base coating technique for you to try. This tutorial also includes some great word layout tips!

This page contains affiliate links which means if you make a purchase using the link, I could receive a commission. Check out all the details here.
This is a 2 part tutorial. First, we will walk through how to make the base coats with this faux water color look (hint: no watercolors were used). Then we will break down some of the word rock designs. My daughter, she’s 8, actually did the base coats on half of these stones!
Supplies for these Faux Watercolor Word Rocks
I used an extra fine tip paint pen for the lettering on each of these stones. For the base coats we did half of them using paint pens and the other half using acrylic paints! So you can use what you have/prefer or both! These flat white stones were found at Hobby Lobby. This would also work well with white stones from this Etsy shop. You do want them to be flat so the paint will sit on the top of the rocks while they dry.
CLICK HERE to see ALL of our FAVORITE rock painting supplies!
The Base Coats Step-by-Step
Below you will find step by step images on how to create this design. There is a full video tutorial after if you are looking for more details or tips!
Start by adding your first color of paint, whether that is paint pen or acrylic, along one edge of the stone. Saturate the paint with water and allow it to spread to about the middle of your stone.
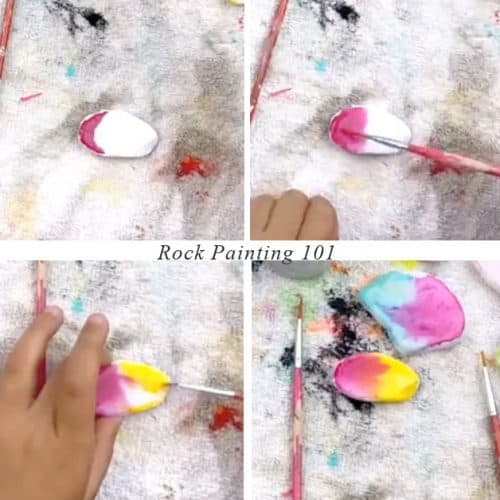
Repeat with a second color on the other side. Bring the paint towards the center of the stone. Then let them meet! You can tilt your stone or blow the paint around. Try to keep the water on the surface of your stone so that it will stay well saturated. Add second coat can be added if needed.
Let your rocks sit flat to dry. This may take some time! Just let them do their thing…
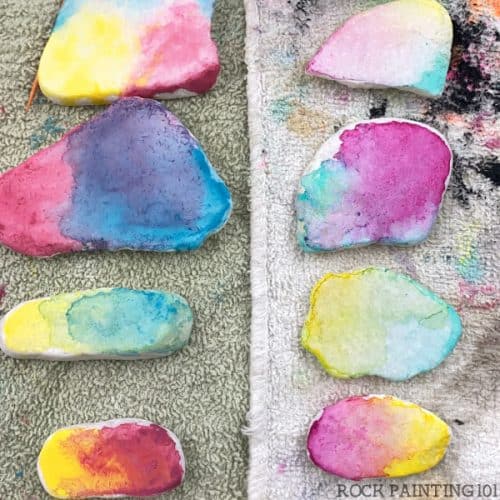
On the left you will see all of the rocks created with acrylic paint and on the right are all stones done with paint pens.
Word Rock Designs Step-by-Step
Again… Below you will find step by step images on how to letter these rocks. There is a full video tutorial after if you are looking for more details or tips to create these design!
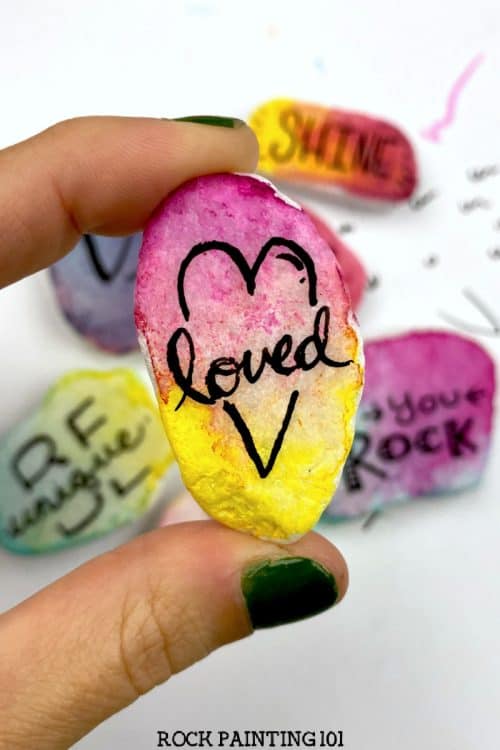
For these 2 designs I use a bit of washi tape. You can use masking tape or painters tape as well. Place the tape down and draw your heart going off the tape. Peel up the tape and add in a word. In this case loved.
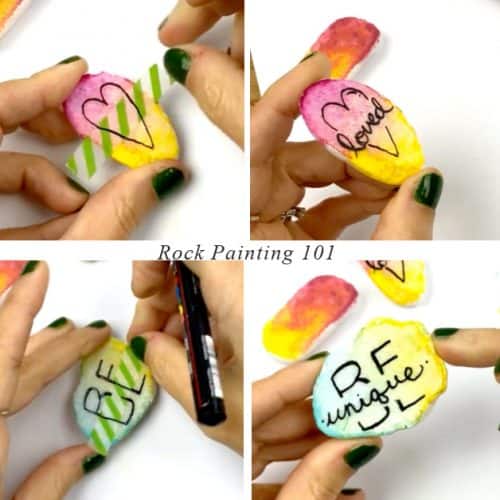
You can use the same technique with a large word with a smaller word inside. But, I will say you want to play around with these words before heading to your rock. Some don’t translate as well with part of the letters missing. BE works well!
Hand Lettering Word Rock Designs
For the stones with a more hand lettering look I have a few tips for you! First, practice on a sheet of paper! Second, you can write the word lightly with pencil onto your stone first if you need. Once your word is on your stone go along and thicken up all of the downward strokes you make.
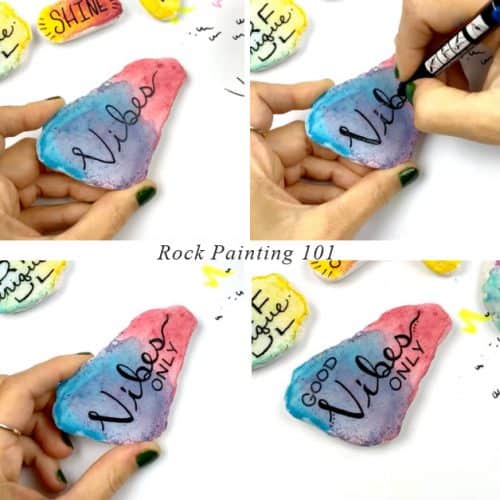
Not all of your words have to be hand-lettered. I like to mix my lettering styles on stones. So as you see here just simple capital letters for the rest of the wording. Adding a few little dots to the design is always a fun final touch!
Watch ALL of these Word Rock Designs in this Video Tutorial
Pin this rock painting idea to your favorite Pinterest board!
I hope you have a chance to try this painting tutorial! Take a minute and pin it to share and save it for later!