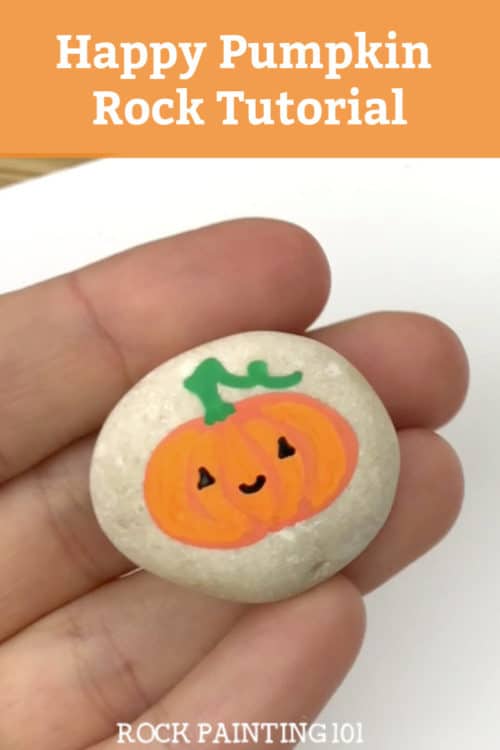
These simple mini pumpkin rocks are quick to create and perfect for decorating this fall. Use them to spread kindness or to decorate your Thanksgiving table.
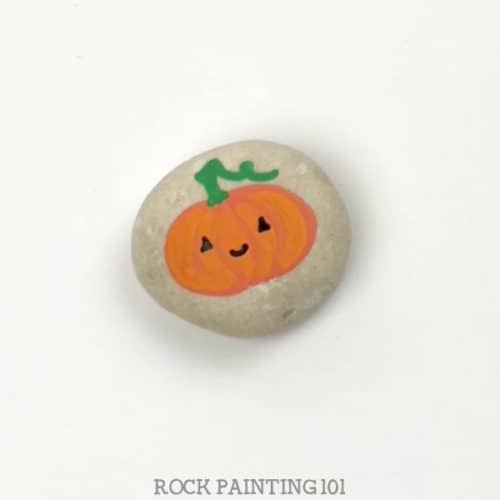
Mini Pumpkin Rocks
It’s not quite autumn unless you have something pumpkin around. Whether you make this pumpkin cute with a smile or leave it plain, it is a great addition to your fall painted rocks.
This page contains affiliate links which means if you make a purchase using the link, I could receive a commission. Check out all the details here.
Step by step instructions for this pumpkin painted rock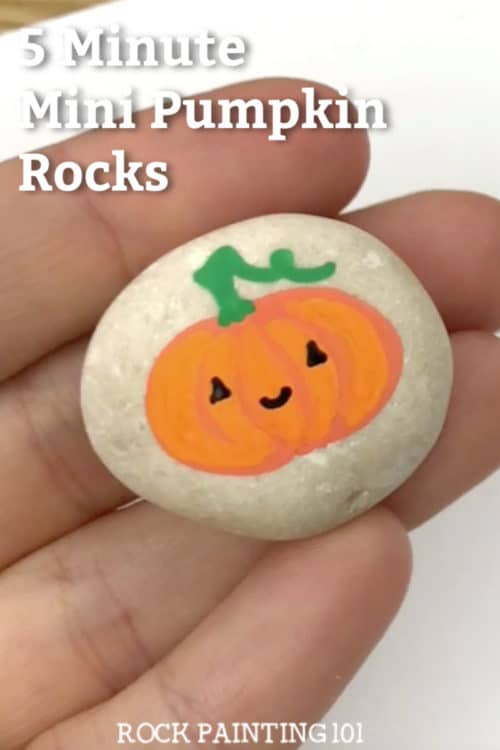
Need paint pens or other supplies? Get everything you need in our Amazon shop!
A lot of people find it hard to create a pumpkin. The basic shape can be tricky! So let’s break it down a bit.
Start with drawing an oval with pointed edges on its side. 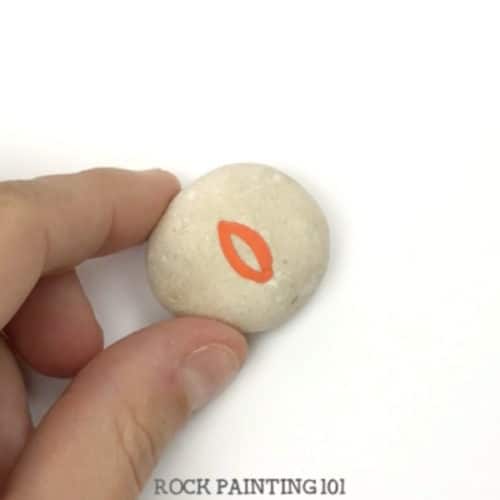
Now you are going to work out to one side first. Create arches out to the right. One at a time. Draw two or three, until you like how it is fitting on the rock.
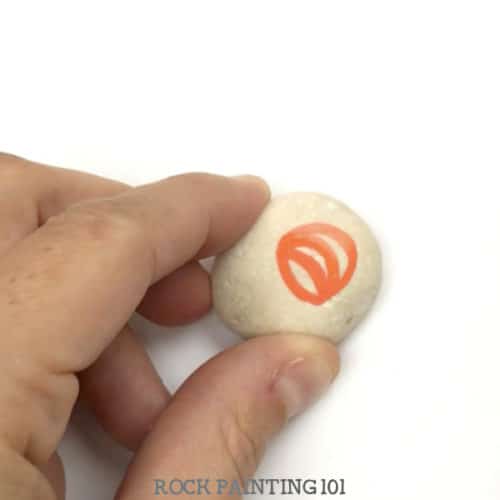
Then match them by pulling the arches off the left side as well.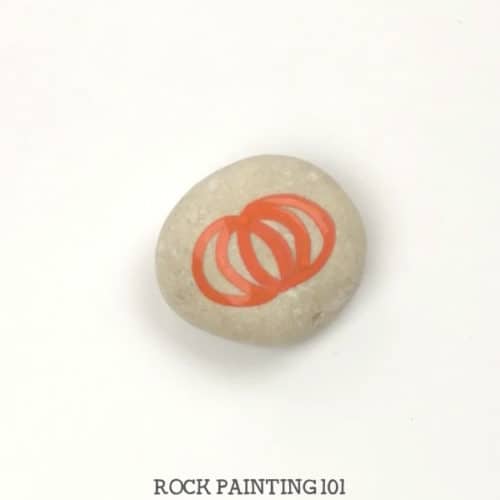
101 Tip: The lines can overlap a bit, but the points should all head to the middle.
Now fill in your pumpkin with a slightly lighter orange.
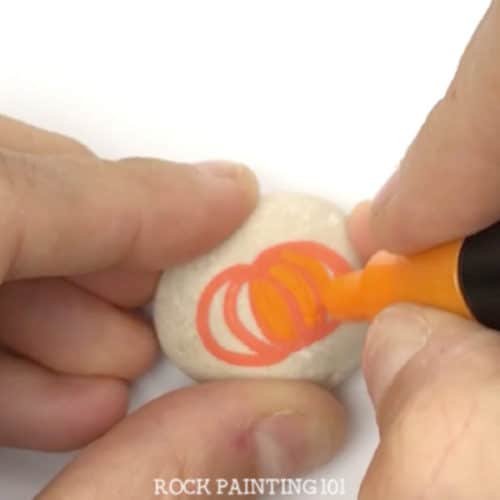
Get as close to the dark orange ribs as you can. 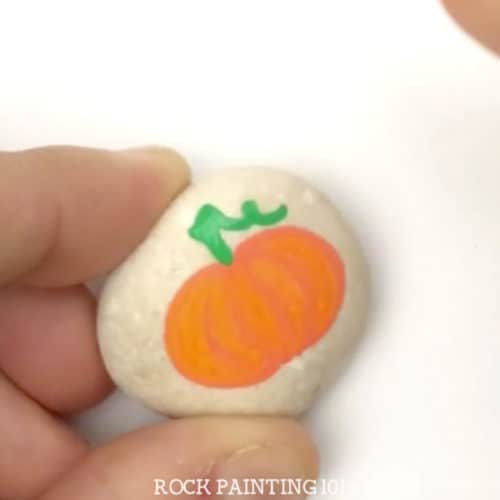
You can add more dark orange later if you get carried away. Next, add your stem and a little vine. Your stem will go onto your orange a bit. 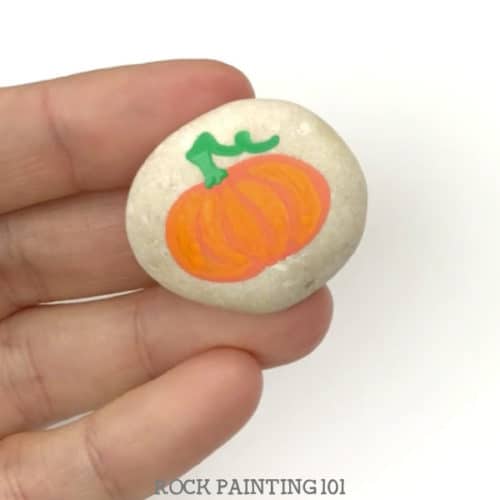
Now, if you like, add a happy little face. I choose to do triangles for eyes, but dots would work too!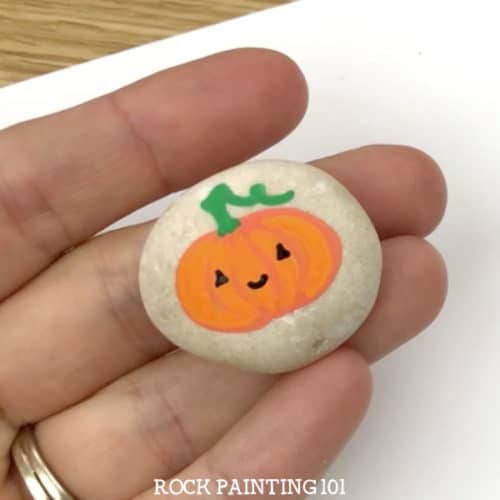
How to paint a pumpkin on rocks!
Follow us on YouTube so you never miss a rock painting idea!

