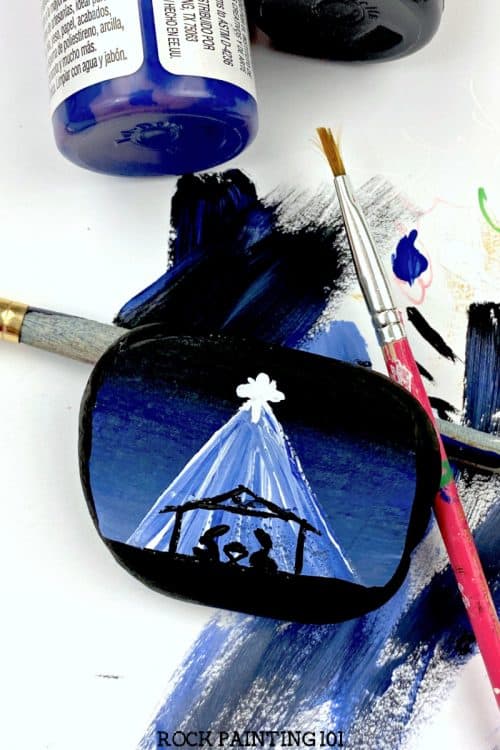
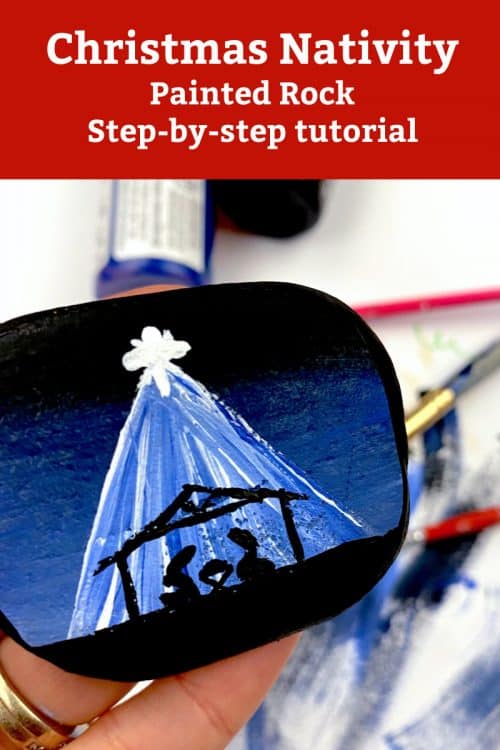
Christmas is right around the corner so I wanted to share how to paint a nativity scene with acrylic paint!
This page contains affiliate links which means if you make a purchase using the link, I could receive a commission. Check out all the details here.

I wanted to make sure to have a couple nativity scene rocks for you to choose from in our Christmas rocks page of the site. Below you will find our acrylic nativity scene tutorial, but if acrylic paint and brushes isn’t your thing you can check out this paint pen nativity scene too!

Supplies to Paint a Nativity Scene
For this tutorial I am using acrylic paint. You need a black, blue, and white. A nice soft bristle paint brush with a square edge. You will also need liner brush for painting the nativity silhouette.
CLICK HERE to see ALL of our FAVORITE rock painting supplies!
Painting a Nativity Silhouette Step-by-Step
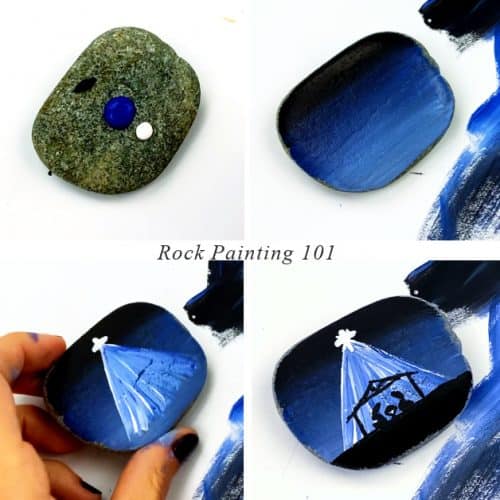
Below you will find step by step images on how to create this design. There is a full video tutorial after if you are looking for more details or tips!
Place the black, blue and white paint directly onto your stone. You won’t need much black. Then taking your larger brush begin blending your colors back and forth. Blending from light into the dark. You may need a second coat depending on the thickness of your paint.

Next with your smaller brush create a white cross shape. Begin adding streaks down to the bottom of your brush. Alternate between white and blue creating a beautiful mixture of blue hues. Create the ground with black on your stone. Then build your manger scene. I have kept the shapes very simple, but you can get as detailed as you like!
How to Paint a Nativity Video
See me paint this whole stone in the video below!
Pin this rock painting idea to your favorite Pinterest board!
I hope you have a chance to try this painting tutorial! Take a minute and pin it to share and save it for later!


