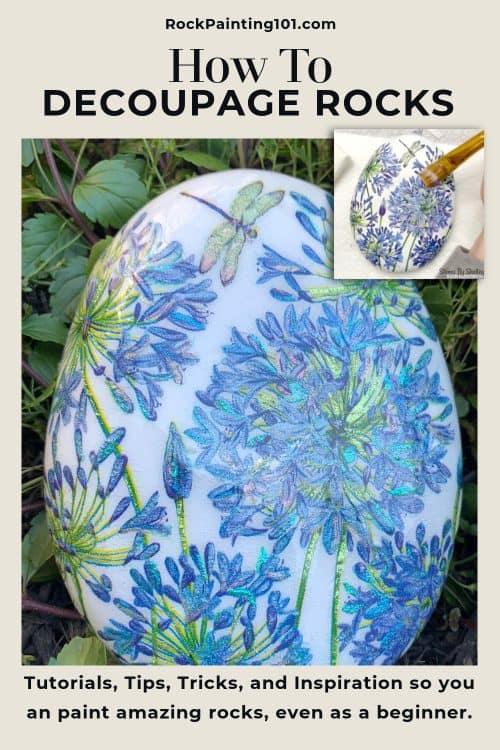
Picking unique patterned napkins to decoupage rocks is such a beautiful craft! Adding some stunning watercolor on top takes it up another notch!!
This page contains affiliate links which means if you make a purchase using the link, I could receive a commission. Check out all the details here.
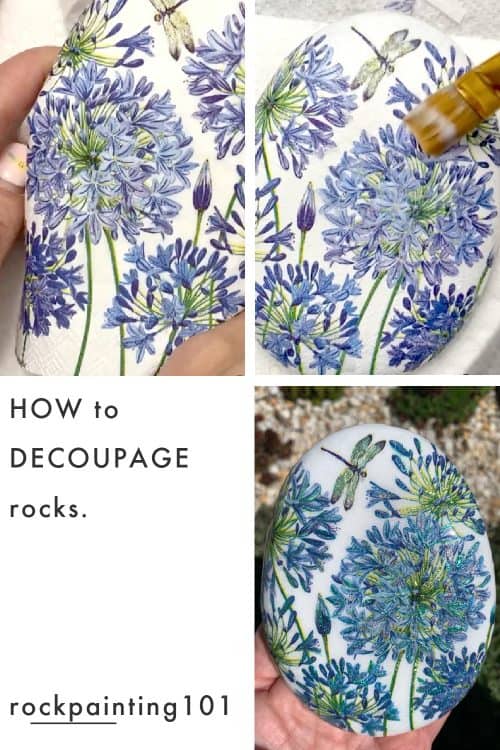
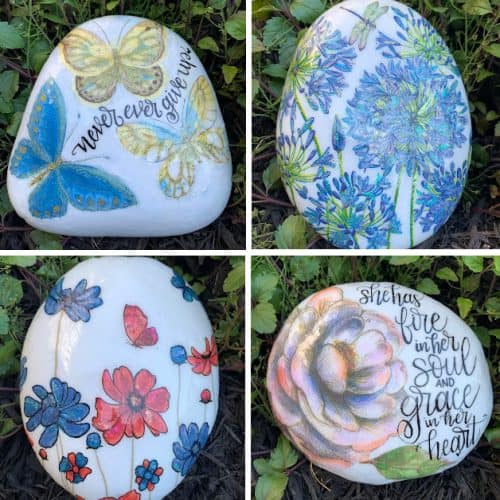
Today we have another great guest post from Shelley – Stones by Shelley. She has been sharing these beautiful decoupaged stones in our Facebook Tutorials group for a while now. So I asked if she would give us all the details on how to decoupage stones like a pro! Check out some of her beautiful stones!!
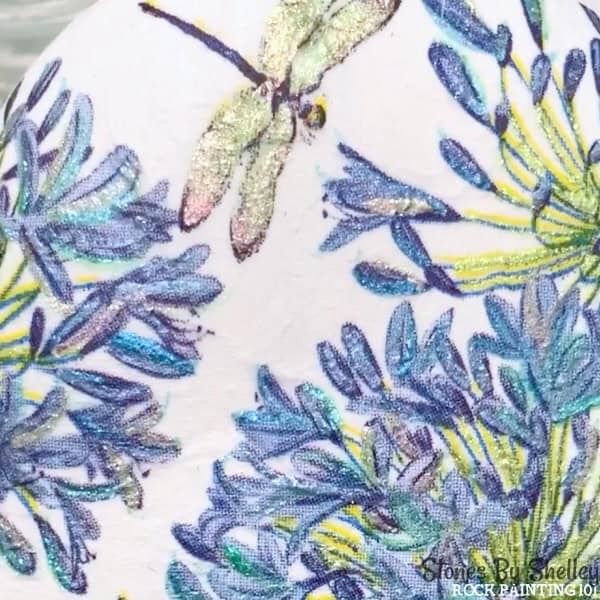
Can you believe these are done with napkins & a little watercolor? We will show you how!
Supplies to Decoupage Rocks with Watercolor Shimmer
- Fun patterned napkins. I used ones from Crafts by Dana Yint on Etsy
- A nice smooth stone CHECK Shelley’s shop HERE You can use large round or Santorini stones. You want to keep in mind the pattern size so pick your rock size according to your designs.
- White chalk paint base coat.
- A few brushes. To apply paint and matte medium.
- Liquitex Matte Medium *this is NOT a sealer
- *Optional – I love to add colorshift Watercolor paints from IUILE to add some simmer.
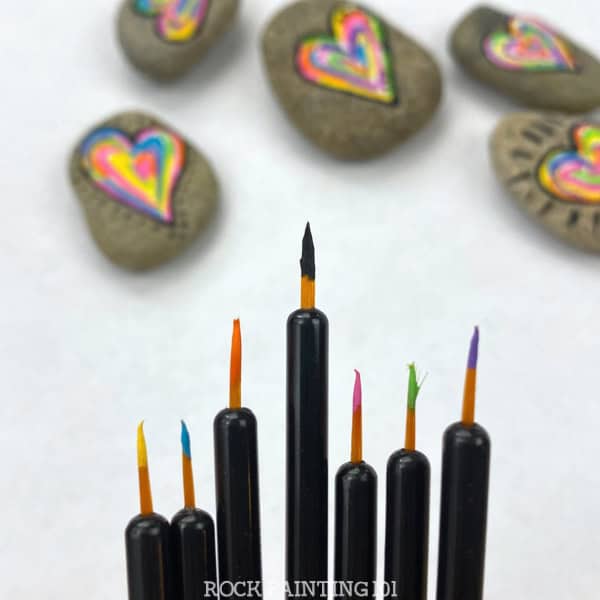
- Small liner brush. I used these disposable eyeliner brushes.
- Sealed with UV Resin.

Stone Decoupage FAQ
Q: Do i need to seal after?
A: YES! Always!
Q: Can I hide this outside?
A: I wouldn’t recommend this with most sealants, it’s best for indoor gifts. If your sealant is resin, the resin would best protect this for outdoor kindness rocks.
Q: Is Liquitex Matte Medium a sealant?
A: No – this is simply to adhere the design, then you can paint on top with any medium!
Q: What sealer do you use?
How to Decoupage Rocks with Napkins
Use beautiful decorative napkins to decoupage stones.
Materials
- Napkins.
- Smooth Stone.
- White Chalk Paint.
- Liquitex Matte Medium.
- *Optional - Watercolor Paints.
- Sealer - I used UV Resin.
Tools
- Paint Brushes.
Instructions
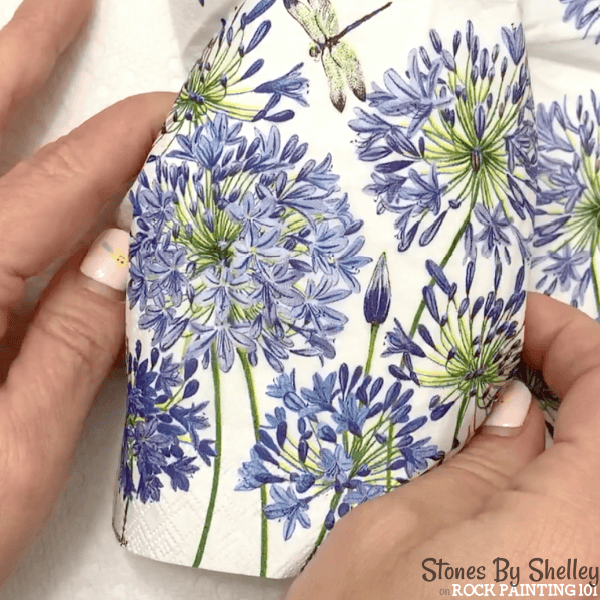
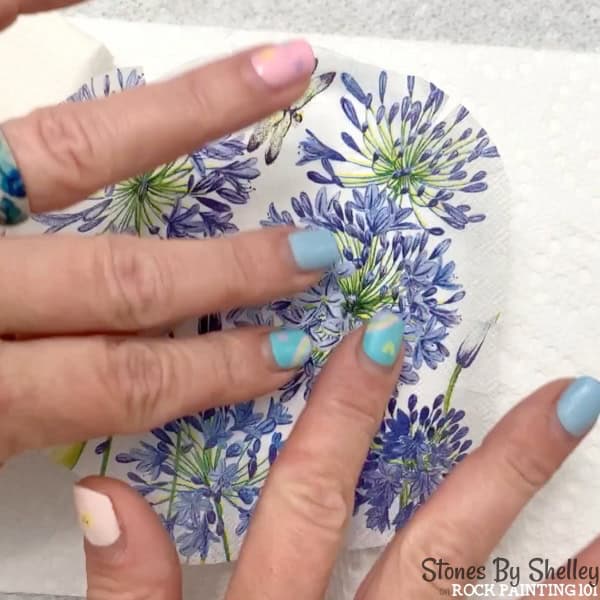
- This rock has been prepped with two coats white chalk paint. Start by picking which section of your napkin you want to use on your rock.
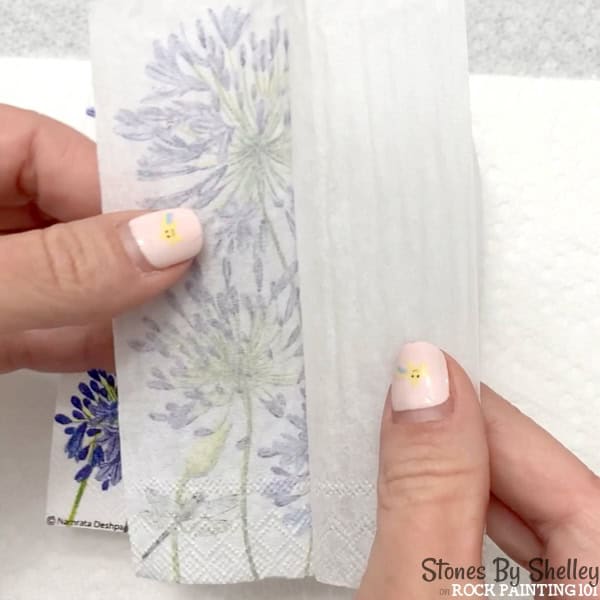
- Peel your napkin layers down to one ply so you don’t have any lumps! You can use tweezers to peel away extra layers.
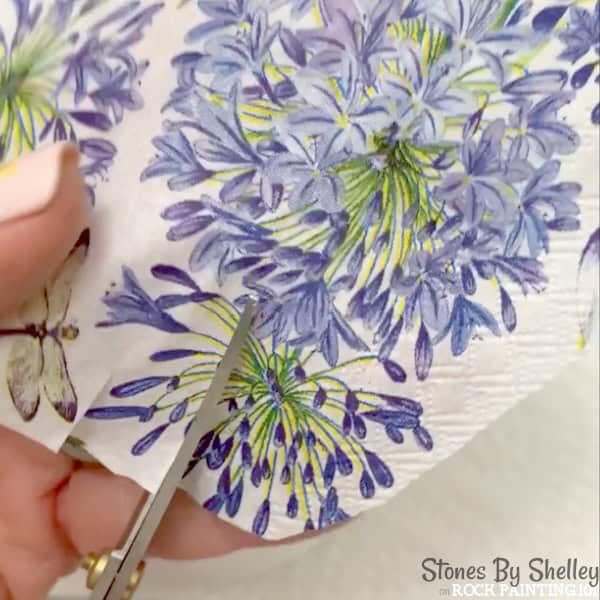
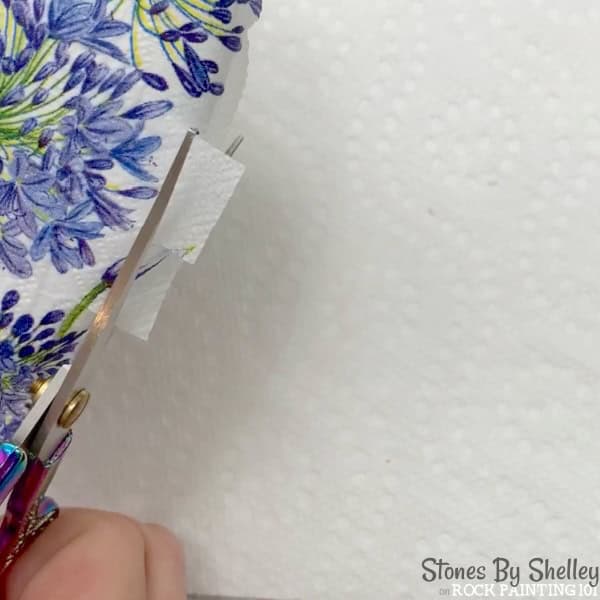
- Next, cut a bit larger than the shape of your rock out of the napkin. Go around the edges adding in little cuts to help you form it over the round edge of the stone.
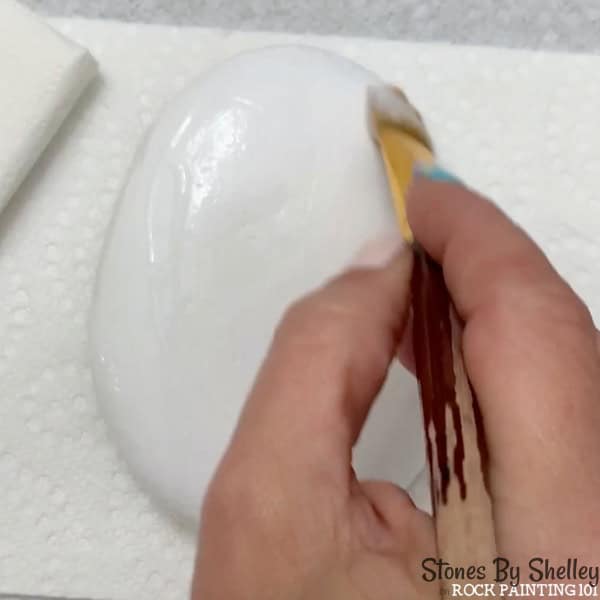
- Add on a layer of the matte medium
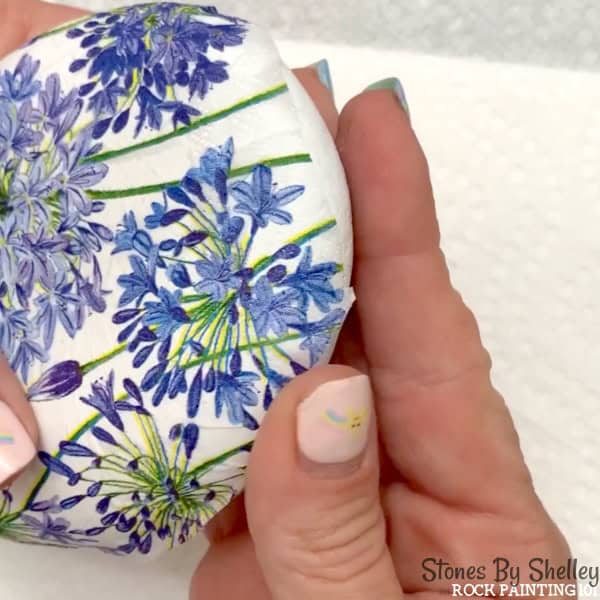
- Carefully lay your design down onto the stone.
- Working from the center out smooth out air bubbles carefully.

- Trim off any extra napkin once you are over the edges.
- Work your way around the stone.
- Carefully add a layer of matte medium over the entire rock. Allow to dry.
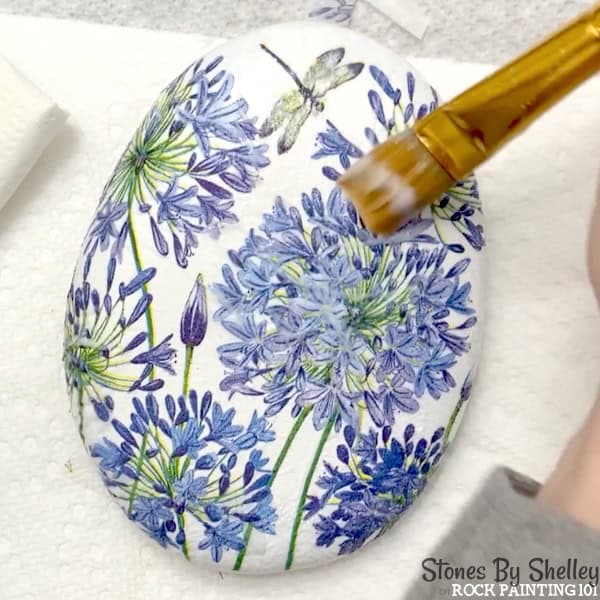
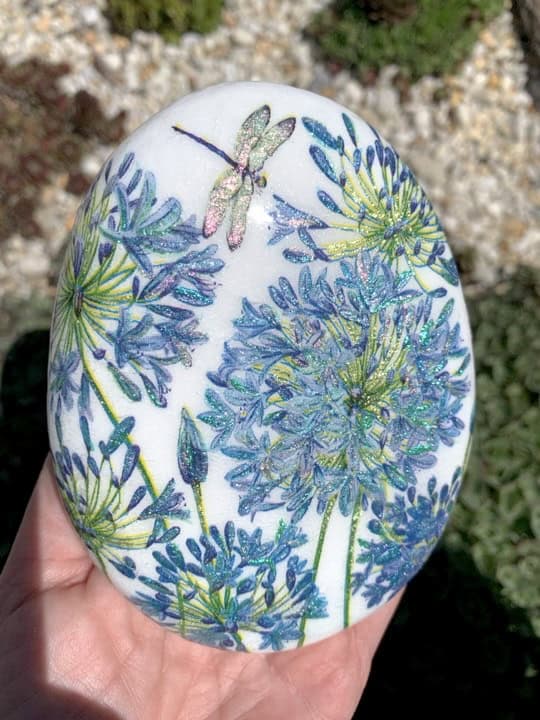
- The whole reason to use a matte medium is now you can paint on top! You can use watercolors or paint pens to add on words or shimmer.
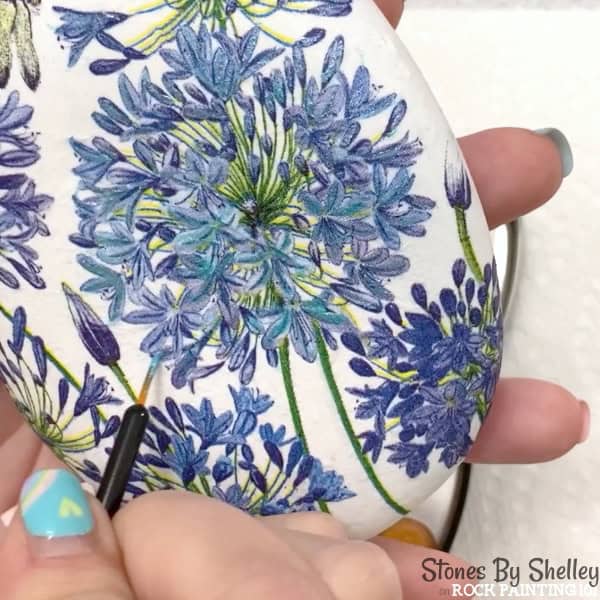
- These color shift watercolors are beautiful to add into the design.
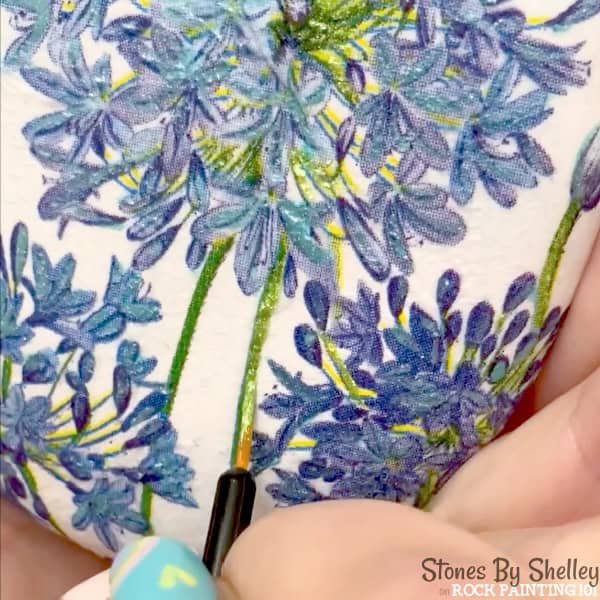
- They give off such a beautiful shimmer!
- Use your favorite sealer. I used a coat of UV Resin.

Recommended Products
As an Amazon Associate and member of other affiliate programs, I earn from qualifying purchases.

Pin this rock painting idea to your favorite Pinterest board!
I hope you have a chance to try this painting tutorial! Take a minute and pin it to share and save it for later!